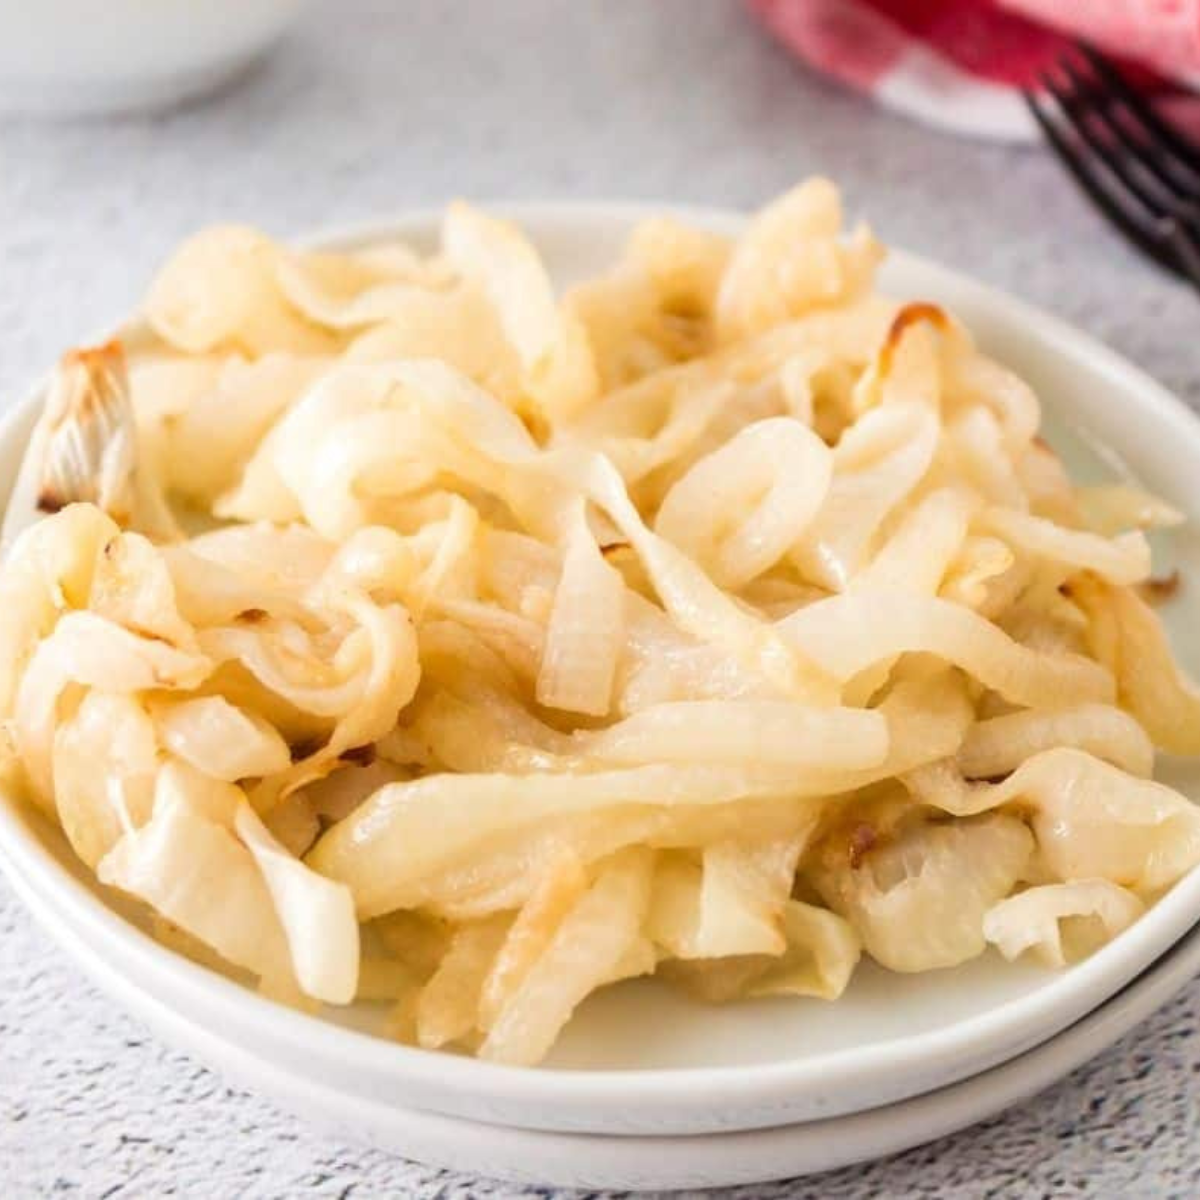
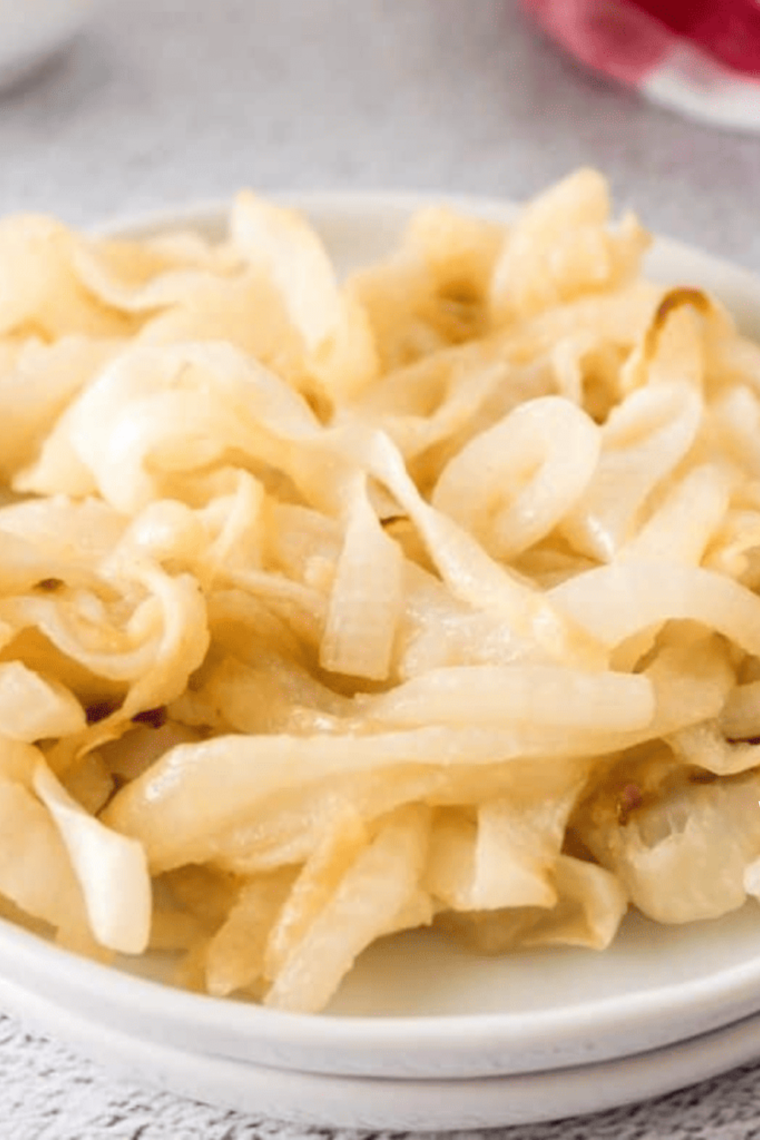
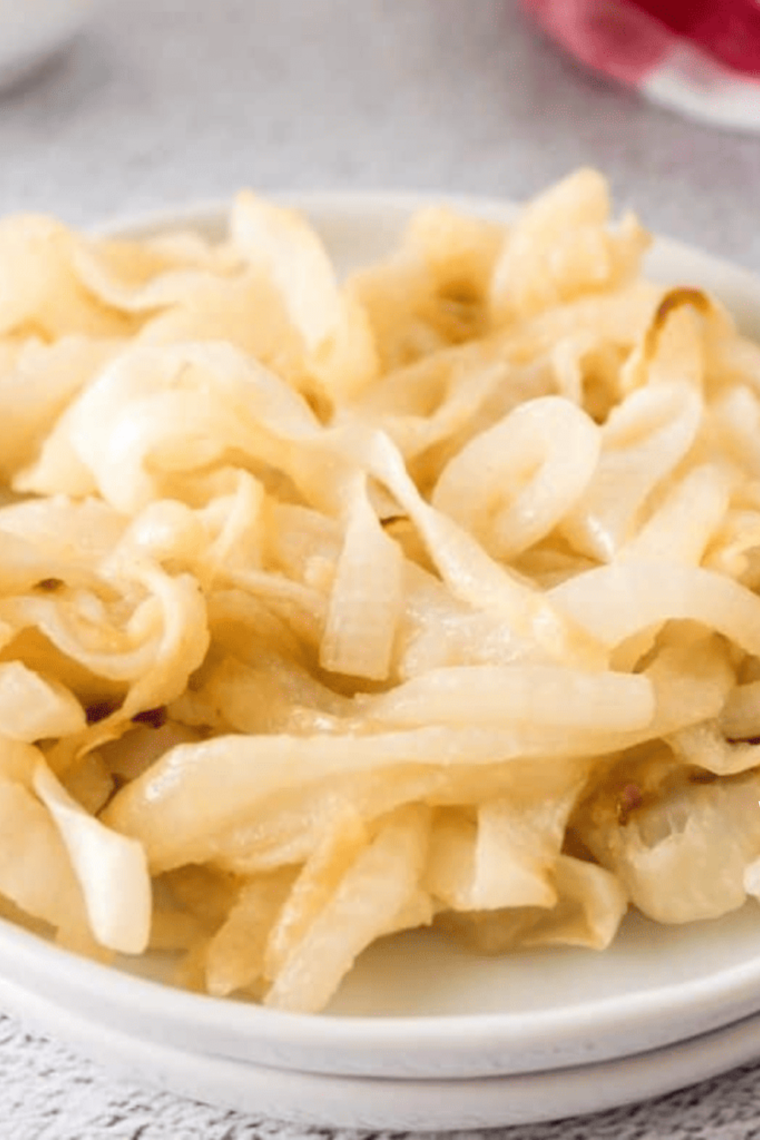
Air fryer caramelized onions are soft, jammy, and deeply golden — not the dry, half-roasted onion slices most air fryer recipes give you. The trick is a two-stage method: the onions steam in butter under foil first, then finish uncovered so they brown properly. Forty minutes, almost entirely hands-off, and no standing over a skillet stirring.
I tested this a lot of ways before landing here, and I want to be straight with you about what works and what doesn’t.
Can you really caramelize onions in an air fryer?
Yes — but only if you change the method.
Here’s the problem with most air fryer onion recipes, including the version I originally published here: an air fryer is a small convection oven. It moves hot, dry air fast. Real caramelization needs the opposite — gentle heat and enough moisture that the onions collapse and their natural sugars concentrate before the edges scorch. Toss bare onion slices in a basket at 350°F and you get roasted onions with crispy tips. Tasty, but not caramelized.
The fix is to give the air fryer what it’s missing. Cook the onions in a small foil pan with butter, covered with foil, for the first stage. The foil traps steam, the onions sweat down and turn translucent, and the butter keeps them from drying out. Then you pull the foil off and let the air fryer do what it does best — brown them.
Honest expectation setting: these come out slightly firmer than a 45-minute stovetop version. Stovetop caramelized onions turn almost silky. These are soft and jammy with a little more body. The flavor is genuinely there — sweet, savory, deep — and for a burger, a sandwich, or a dip, most people can’t tell the difference. For a classic French onion soup, I’d still use the stove.
Why this method works
A splash of balsamic at the end. Adds acidity and a little sugar right when the onions are ready to take it, without burning during the long cook.
Butter, not just oil. Butter’s milk solids brown alongside the onions and contribute a huge amount of the flavor you associate with caramelized onions. Oil alone can’t do that.
A pan instead of the bare basket. Loose slices fall through, dry out, and burn on the edges. A small foil pan or oven-safe dish keeps the butter and onion juices in contact with the onions.
Low first, then higher. 300°F covered softens. 320°F uncovered browns. Going straight to high heat browns the outsides before the insides ever break down.
Ingredients
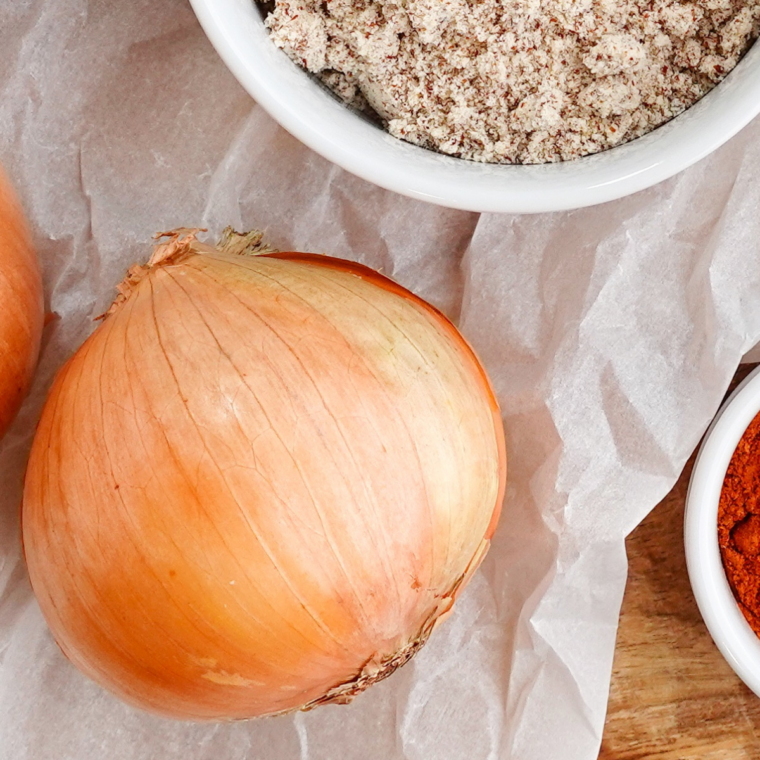
- Sweet Onions: Vidalia, Walla Walla, or Maui onions caramelize best because their higher natural sugar content browns into real sweetness rather than just softening. Use 2 large onions, about 1½ pounds, sliced ¼-inch thick. Yellow onions work well too and are what most people have on hand — they just finish a little less sweet, which a pinch of brown sugar fixes.
- Unsalted Butter: Two tablespoons, cut into small pieces so it melts evenly across the onions. Butter is the single most important upgrade here — its milk solids brown alongside the onions and create the deep, savory flavor you associate with properly caramelized onions. Oil alone simply cannot do that.
- Olive Oil: One tablespoon, tossed with the onions before the butter goes on. It raises the effective smoke point so the butter doesn’t scorch during the browning stage, and it helps every slice get coated evenly.
- Kosher Salt: Half a teaspoon at the start, plus more to finish. Salting early pulls moisture out of the onions during the covered stage, which is exactly what you want — that moisture is what lets them collapse instead of drying out.
- Balsamic Vinegar: One teaspoon, stirred in at the very end and completely optional. The acidity brightens the finished onions and adds a touch of sugar right when they can absorb it, without burning over the long cook time.
- Brown Sugar: A small pinch, optional, and only if you’re using yellow or white onions. Sweet onions have enough sugar of their own — adding more pushes them toward candied rather than caramelized.
How to make caramelized onions in the air fryer
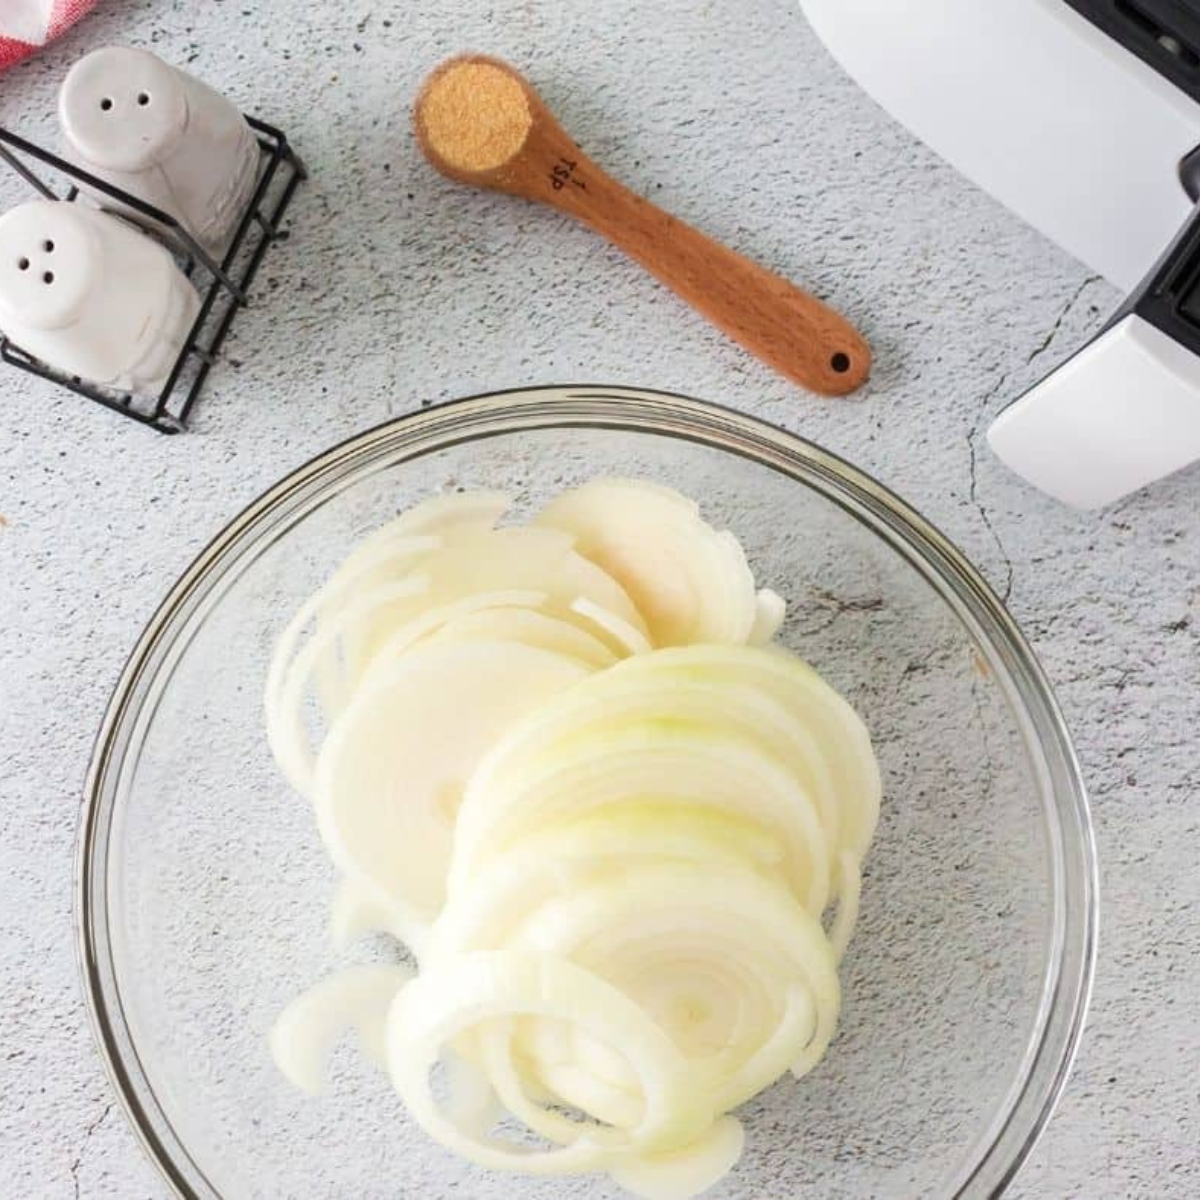
Step 2: Slice the onions. Trim the ends, halve the onion pole to pole, peel, and slice into ¼-inch half-moons. Separate the layers with your fingers so no clumps go in stuck together. Even thickness matters more than thinness here — thin slices burn before they caramelize.
Step 2: (Optional) Set up the pan. Put the onions in a small foil pan or oven-safe dish that fits your basket with room to stir. Add the olive oil, salt, and butter pieces scattered over the top. Toss to coat. Cover tightly with foil.
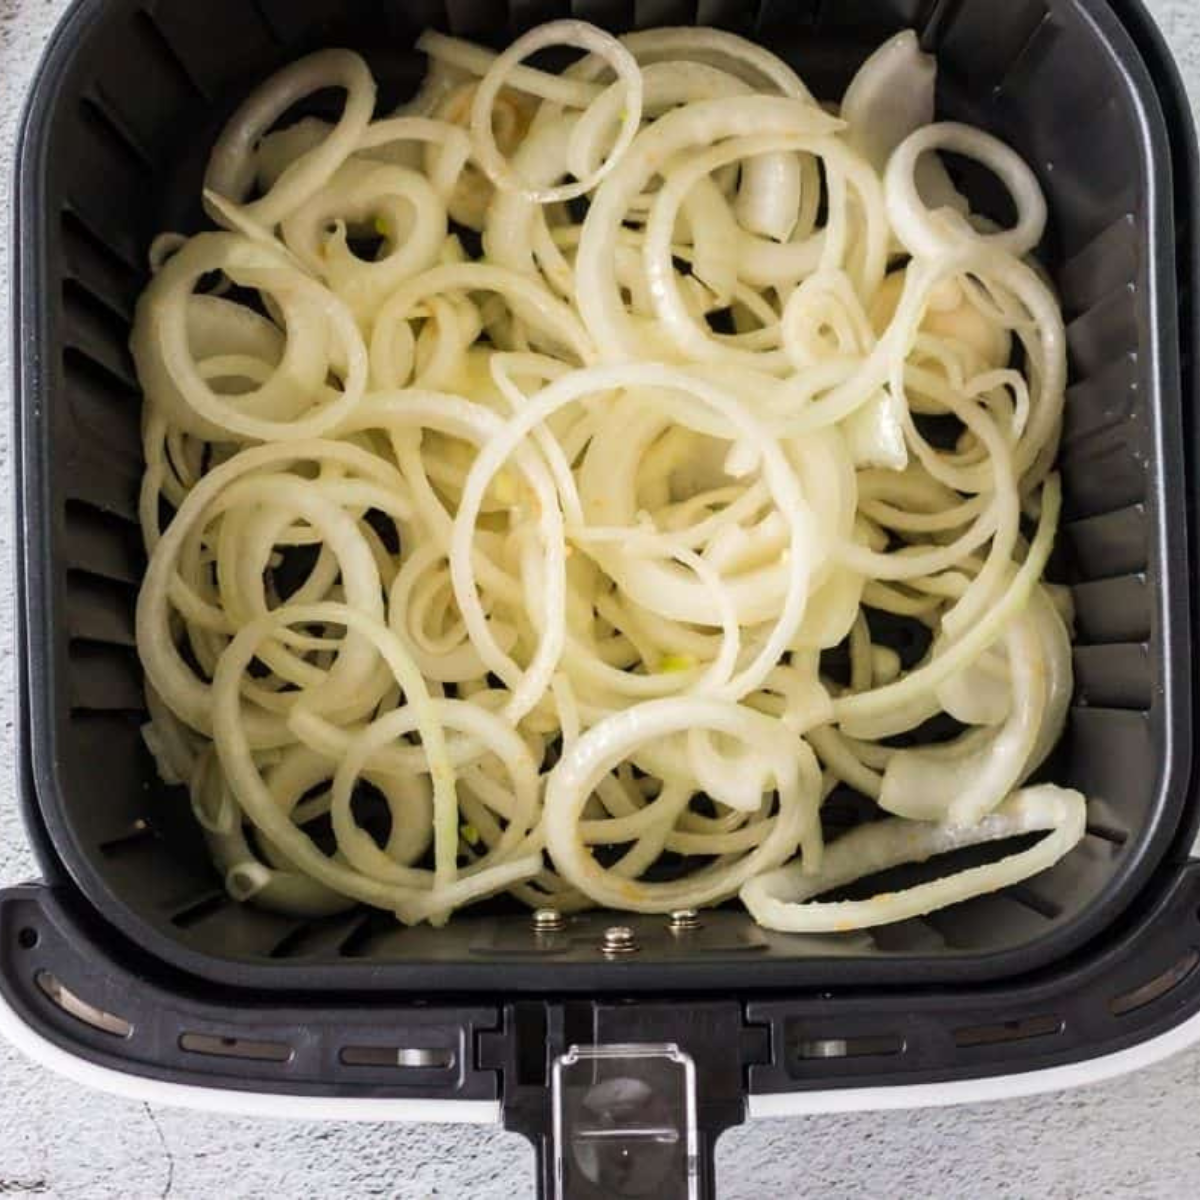
Step 3: The covered stage. Air fry at 300°F (150°C) for 20 minutes. Halfway through, carefully lift the foil and stir. The onions should look wet, translucent, and considerably smaller. They will not be brown yet. That’s correct.
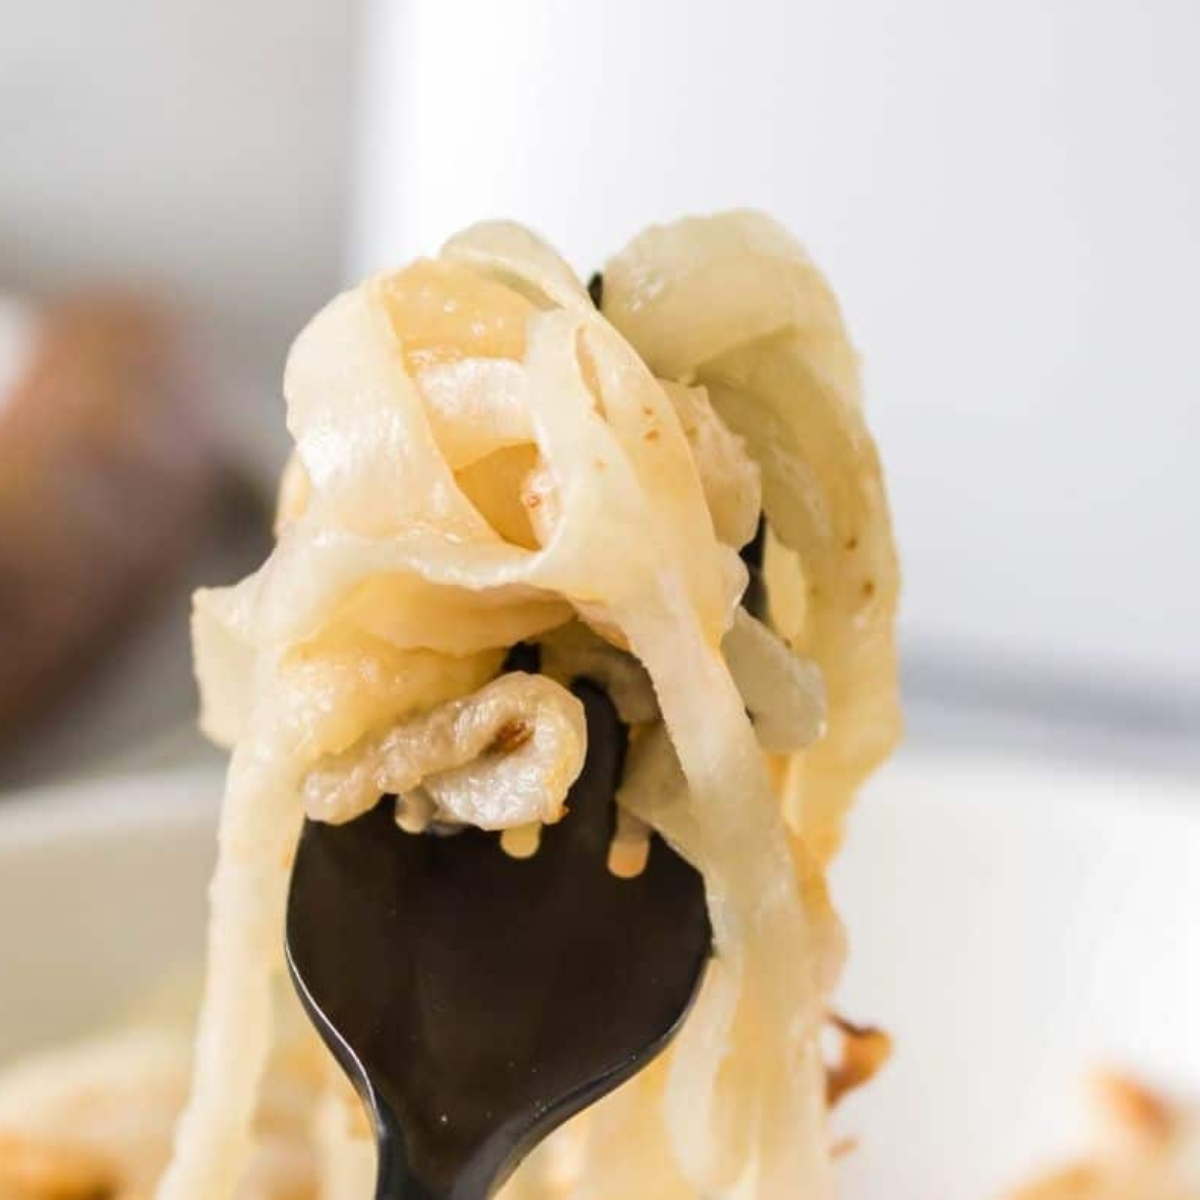
Step 4: The browning stage. Remove the foil. Increase to 320°F (160°C) and cook 15–20 minutes, stirring every 5 minutes. Watch the edges — if any pieces are darkening much faster than the rest, stir them into the middle. They’re done when the whole batch is a deep, even golden brown and there’s a little syrupy liquid in the bottom of the pan.
Step 5: Finish. Stir in the balsamic vinegar and a final pinch of salt while everything is still hot. The vinegar will sizzle and mostly cook off, leaving the flavor behind.
Total time: about 40 minutes, of which maybe 5 are hands-on.
Pro tips
- Don’t skip the foil cover. This is the single change that separates caramelized onions from roasted onion slices. Uncovered, the onions dry out before they break down.
- Preheat if your air fryer runs cool. Older basket models especially — 3 minutes at 300°F before the pan goes in evens things out.
- Stir with tongs, not a spoon. You want to lift and turn the onions rather than mash them.
- Salt lightly at the start, adjust at the end. A little salt early helps draw moisture out during the covered stage. Too much and they turn watery.
- Don’t crowd the pan. More than about a 1½-inch deep layer and the bottom steams while the top browns. Split into two batches if you need to.
- Never add water to a hot air fryer basket. You’ll see this suggested elsewhere as a way to “deglaze.” Don’t — it damages nonstick coatings and creates a face full of steam. The foil pan already keeps the good bits contained.
- Time varies by model. A Ninja Foodi, a basket-style air fryer, and a UK oven-style air fryer all behave differently. Check at the 30-minute mark the first time you make these and adjust from there.
Variations
- Red onions — gorgeous color, a little sharper. Add an extra pinch of brown sugar.
- Shallots — halve them lengthwise and skip the covered stage’s second stir. Sweeter and more delicate than onions, and excellent on steak.
- Pearl onions — use frozen (already peeled), leave them whole, and add 5 minutes to the covered stage. These are wonderful alongside a roast.
- Caramelized onions with thyme — add 3 or 4 fresh sprigs under the foil in step 2 and pull them out before serving.
- Boozy version — swap the balsamic for a tablespoon of dry sherry or red wine at the finish.
For UK and metric cooks
Caramelised onions work exactly the same way — the only differences are the temperatures and the machine. Use 150°C covered for 20 minutes, then 160°C uncovered for 15–20 minutes. If you have an oven-style air fryer with a rack rather than a basket, you can skip the foil pan and use a small baking dish directly, and you may find the browning stage runs slightly faster because the heating element is closer.
Storing and freezing
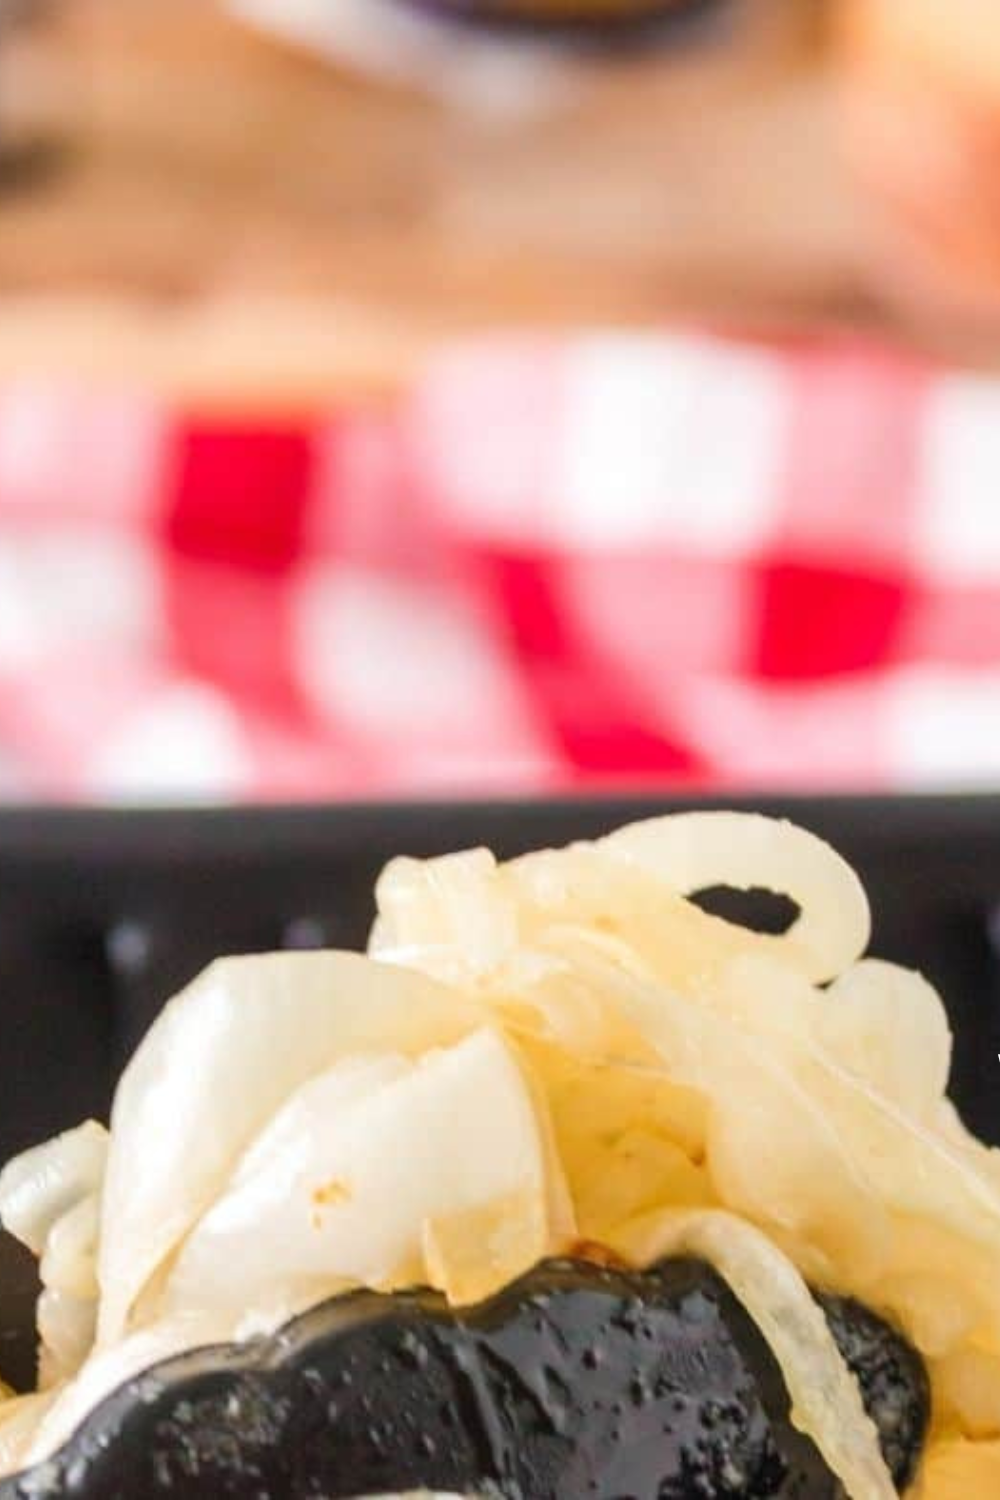
Refrigerator: airtight container, up to 5 days. They firm up when cold and loosen again as they warm.
Freezer: up to 3 months. The best method is to spoon them into an ice cube tray, freeze solid, then transfer the cubes to a freezer bag — one cube is about the right amount for a single sandwich.
Reheating: a skillet over medium-low for 2 minutes is best. The microwave works at 50% power in short bursts. I don’t recommend reheating them in the air fryer — they’re already cooked and the dry heat crisps them.
What to do with caramelized onions
This is the part worth planning for, because once you have a container of these in the fridge they improve almost everything.
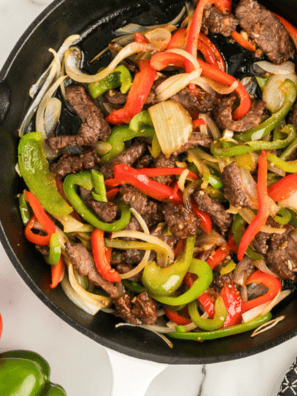
Pile them onto air fryer burgers — this is the highest and best use, honestly. They’re also the ingredient that makes an air fryer patty melt taste like a real diner made it, and they belong on air fryer Philly cheesesteak cheesy bread alongside the peppers.
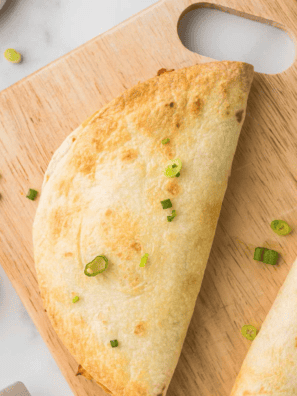
Fold them into an air fryer caramelized onion and mushroom quesadilla, or stir a few tablespoons into homemade French onion dip — the version made with actually caramelized onions rather than powder is a completely different dip.
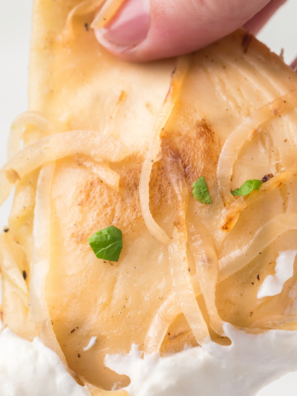
They’re the traditional partner for air fryer pierogies, and they’re non-negotiable with old-fashioned liver and onions.
Beyond that: on pizza, in an omelet, stirred into mashed potatoes, spooned over air fryer roasted carrots, or on a cheese board with something sharp. If you want more ideas for using the machine, my full collection of air fryer recipes is a good place to start.
Frequently asked questions
How long does it take to caramelize onions in an air fryer? About 40 minutes total — 20 minutes covered at 300°F, then 15–20 minutes uncovered at 320°F. Recipes promising caramelized onions in 15 minutes are producing sautéed or roasted onions, which are good but different.
What temperature should I use? 300°F (150°C) for the covered softening stage, then 320°F (160°C) to brown. Higher temperatures scorch the edges before the onions break down.
Why aren’t my air fryer onions turning brown? Usually one of three things: you skipped the foil-covered stage, the pan is overcrowded, or your air fryer runs cool. Give them another 5–10 minutes uncovered and stir more often.
Can I use oil instead of butter? You can, and they’ll still be good, but you’ll lose a meaningful amount of flavor. Butter’s milk solids brown along with the onions. If you need this dairy-free, use olive oil and add the balsamic — the acidity compensates a little.
Do I need a foil pan? You need something to contain the butter and juices. A small metal cake pan, a ramekin, or an oven-safe dish all work. Cooking loose onions in the bare basket is what produces dry roasted onions instead of caramelized ones.
What onions are best? Sweet onions — Vidalia, Walla Walla, Maui — caramelize best because of their sugar content. Yellow onions are the standard workhorse and work well. Red onions look beautiful but stay a touch sharper. White onions are the least sweet of the group.
Should I add sugar? Only if your onions aren’t sweet. A pinch of brown sugar helps yellow or white onions along. With Vidalias it’s unnecessary and can push them toward candied.
Can I double the recipe? Yes, but cook in two batches rather than piling them deeper. A layer more than about 1½ inches deep will steam rather than brown.
Are these the same as stovetop caramelized onions? Close, not identical. Stovetop onions get silkier after 45 minutes of stirring. These are slightly firmer and jammier, with genuinely deep flavor — and they need about 5 minutes of your attention instead of 45.
Can I make these in a Ninja Foodi or oven-style air fryer? Yes. The method is the same. Oven-style models often brown a little faster because the element sits closer, so check at 30 minutes.
Air Fryer Caramelized Onions
Description
Ingredients
- 2 large sweet onions, about 1½ lbs, sliced ¼-inch thick
- 2 tablespoons unsalted butter, cut into small pieces
- 1 tablespoon olive oil
- ½ teaspoon kosher salt, plus more to taste
- 1 teaspoon balsamic vinegar, optional
- Pinch brown sugar, optional
Instructions
- Trim and peel the onions, halve them pole to pole, and slice into ¼-inch half-moons. Separate the layers with your fingers.
- Place the onions in a small foil pan or oven-safe dish that fits your air fryer basket. Add the olive oil and salt, scatter the butter pieces over the top, and toss to coat. Cover tightly with foil.
- Air fry at 300°F (150°C) for 20 minutes, stirring once at the halfway point. The onions will be soft and translucent but not browned yet.
- Remove the foil. Increase the temperature to 320°F (160°C) and cook for 15–20 minutes, stirring every 5 minutes, until deeply and evenly golden brown.
- Stir in the balsamic vinegar and a final pinch of salt. Taste and adjust. Serve warm.
Equipment
- Small foil pan or oven-safe dish
- Aluminum Foil
- Tongs
Notes
- Do not skip the covered stage — it’s what produces caramelized rather than roasted onions.
- Cook in batches rather than piling the onions deeper than about 1½ inches.
- Never add water to a hot air fryer basket to deglaze.
- Store in an airtight container in the refrigerator up to 5 days, or freeze in ice cube trays up to 3 months.
Nutrition
Share this recipe
We can’t wait to see what you’ve made! Mention @forktospoon or tag #forktospoon!