
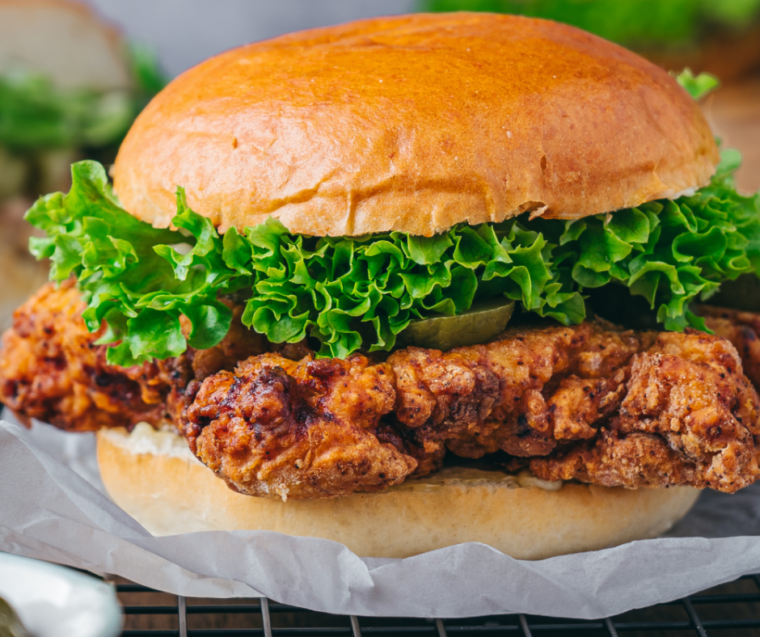
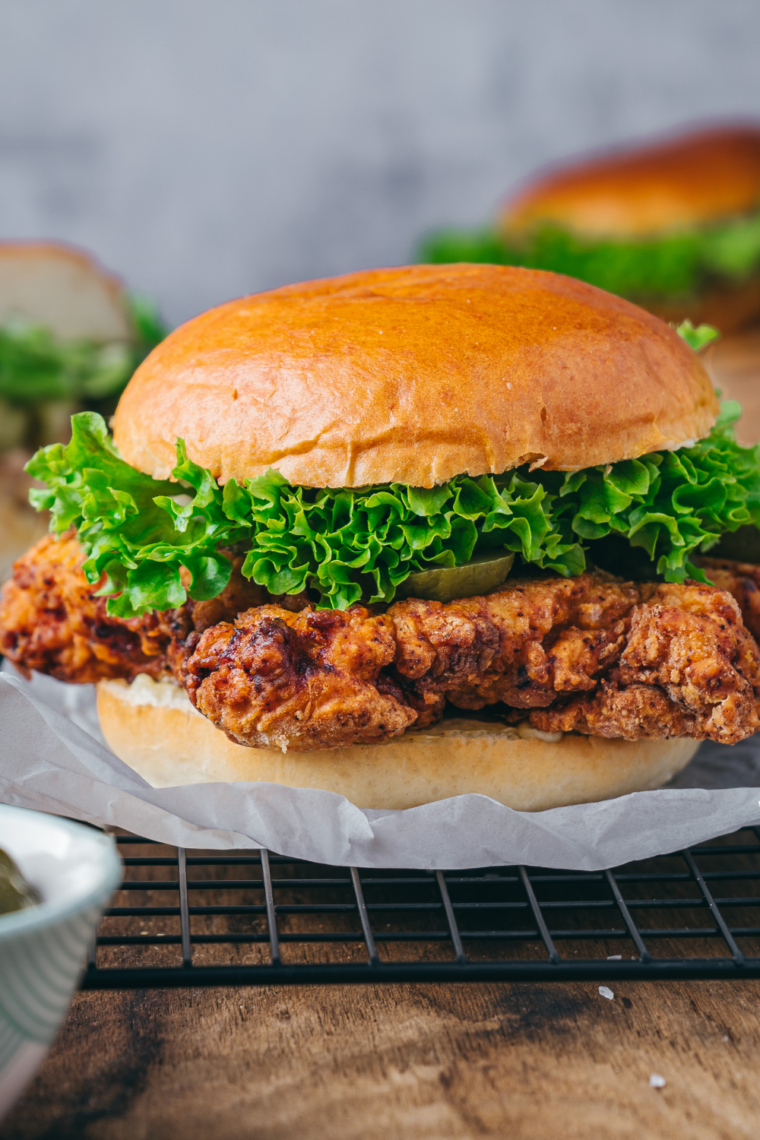
I’ve made a lot of fried chicken sandwiches. This is the one I keep coming back to, and it started as an attempt to reverse-engineer the Barefoot Contessa’s version — which is itself a copycat of something else. More on that in a second.
The short version: buttermilk-brined chicken, a crust built in two passes instead of one, and a tangy herb mayo doing the heavy lifting on the assembly. Six sandwiches, one overnight marinade, one Dutch oven.
Jump to the recipe below, or stick around for the two techniques that make or break it
The Recipe Behind the Recipe
Ina Garten’s fried chicken sandwich is famously a tribute, not an invention. She’d been a vocal fan of Shake Shack’s Chick’n Shack — a crispy white-meat breast on a toasted potato bun with buttermilk herb mayo, lettuce, and pickles — posting about it on Instagram as far back as 2016. She had also spent years thinking about double-dipping chicken in buttermilk and flour to build a thicker crust, and when Shake Shack’s cookbook came out she realized that was exactly their method. Her version appeared in Cook Like a Pro in 2018, and Food Network Magazine ran it again in early 2020, right as the fast-food chicken sandwich wars were peaking.
So this post is a copycat of a copycat, which feels like the correct amount of reverence.
My version differs from hers in three ways, and I’ll be upfront about all of them:
- Cornstarch and baking powder in the dredge. Cornstarch fries drier and crisper than flour alone; baking powder raises the surface pH and encourages blistering. Neither is in the original.
- More heat, and in the dredge instead of the marinade. Garten’s jalapeño lives in the buttermilk, which reads as background warmth. I want the spice on the crust where you taste it first, so cayenne and smoked paprika go into the flour.
- Garlic in the mayo. Small change, big difference.
If you want the original exactly as written, it’s in Cook Like a Pro and on Food Network. What follows is mine.
Two Techniques That Matter More Than the Ingredients
- The overnight buttermilk brine: Eight hours minimum. Twenty-four hours maximum — and that ceiling is real, not a hedge. Buttermilk’s acid and enzymes loosen the protein structure so lean breast meat survives the fryer, but past a day the surface proteins break down too far and the texture turns chalky and mealy.
- The aromatics matter here too. Sliced shallot, smashed garlic, and jalapeño season the meat from the inside rather than sitting as a coating. This is the step people skip when they’re in a hurry, and skipping it produces a perfectly fine sandwich that isn’t this sandwich.
- The double dip: Most fried chicken goes marinade → flour → oil. This goes marinade → flour → marinade → flour → oil.
- Each wet-dry cycle deposits a fresh layer of hydrated flour, and in the fryer those layers fuse into a thick, craggy shell with real structural integrity. It’s the difference between a crust that flakes off on the first bite and one that holds together through mayo, pickle juice, and a full minute of eating. Your hands will get gnarly. Designate one hand wet and one dry, or accept it.
Ingredients Needed
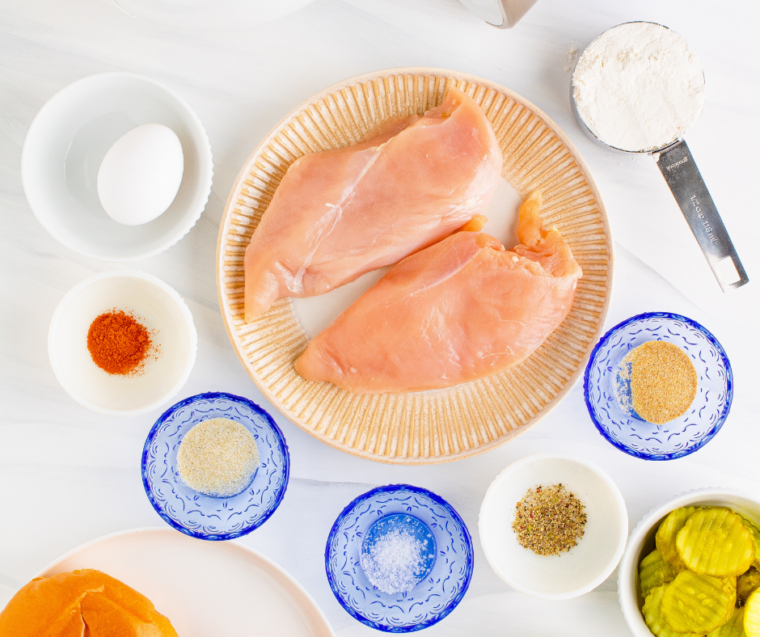
For the buttermilk marinade
- Buttermilk: tenderizes lean breast meat and carries every other flavor
- Shallot: sweeter and softer than onion, no harsh bite
- Garlic: smashed cloves release flavor slowly into the brine
- Jalapeño: background warmth, seeds in for real heat
- Kosher salt: seasons the meat all the way through
- Black pepper: grind it fresh, pre-ground goes flat fast
- Hot sauce: adds vinegar tang along with a little heat
- Chicken breasts: pounded even and halved into sandwich-sized cutlets
For the herb mayo
- Mayonnaise: the base, so buy something you’d eat plain
- Buttermilk: thins the mayo into a spreadable, tangy sauce
- Chives: mild onion note that stays fresh and green
- Flat-leaf parsley: clean, grassy lift against all that fried richness
- Fresh thyme: small amount, but it anchors the whole blend
- Lemon juice: brightness that cuts straight through the fat
- White wine vinegar: sharper acid than lemon, adds another dimension
- Garlic: grated fine so it disappears into the sauce
- Salt and black pepper: season at the end, taste as you go
For the dredge
- All-purpose flour: the structure of the crust, nothing fancy needed
- Cornstarch: fries drier and crisper than flour alone
- Kosher salt: the crust needs its own seasoning, not the chicken’s
- Smoked paprika: color and a low, smoky depth underneath
- Garlic powder: layers over the fresh garlic in the marinade
- Onion powder: savory backbone you notice only when missing
- Cayenne pepper: the actual heat, sitting right on the crust
- Baking powder: raises surface pH so the coating blisters and browns
- Black pepper: sharp bite that survives the heat of frying
For frying and assembly
- Canola or peanut oil: neutral flavor and a high smoke point
- Potato buns: soft, slightly sweet, sturdy enough to hold up
- Butter: for toasting the buns into a moisture barrier
- Boston or butter lettuce: tender leaves that won’t fight the bite
- Dill pickle chips: acid and crunch, the non-negotiable counterweight
How To Make Copycat Ina Garten Fried Chicken Sandwich
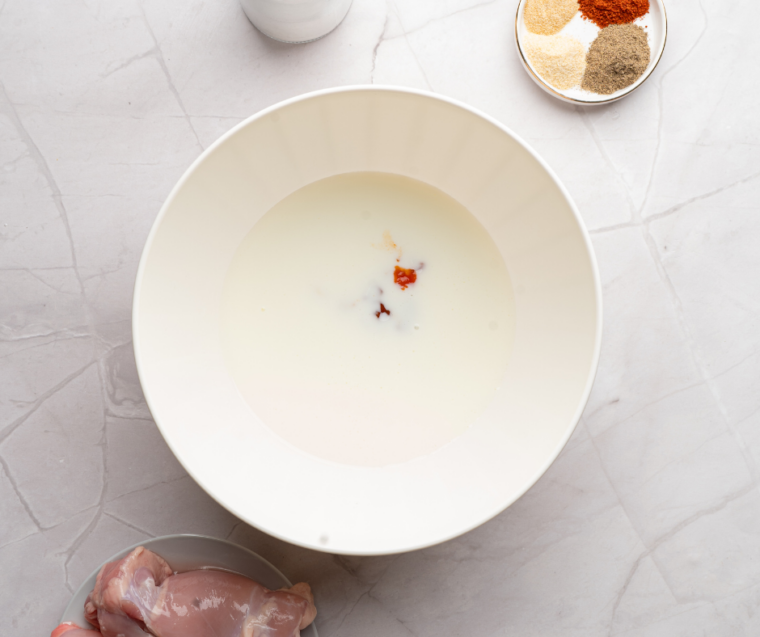
Step 1:. Marinate (the night before). Whisk the buttermilk, shallot, garlic, jalapeño, salt, pepper, and hot sauce together in a large bowl. Lay each chicken breast between two sheets of parchment and pound to an even 1/2-inch thickness, then cut each one crosswise into two roughly equal pieces — six total. Submerge them in the marinade, cover, and refrigerate 8 to 24 hours.
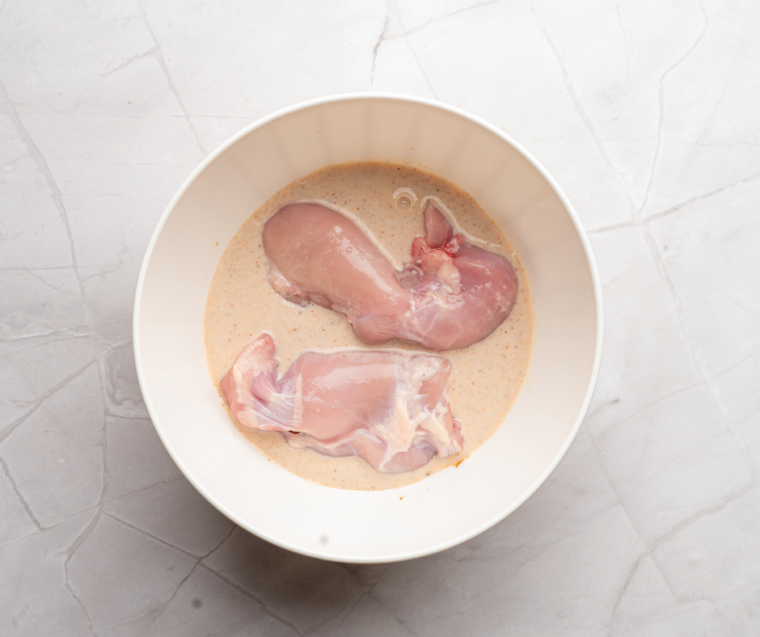
Step 2: Make the herb mayo. Whisk everything together and refrigerate at least an hour. It’s better after a night in the fridge and keeps about five days. Make it while the chicken marinates.
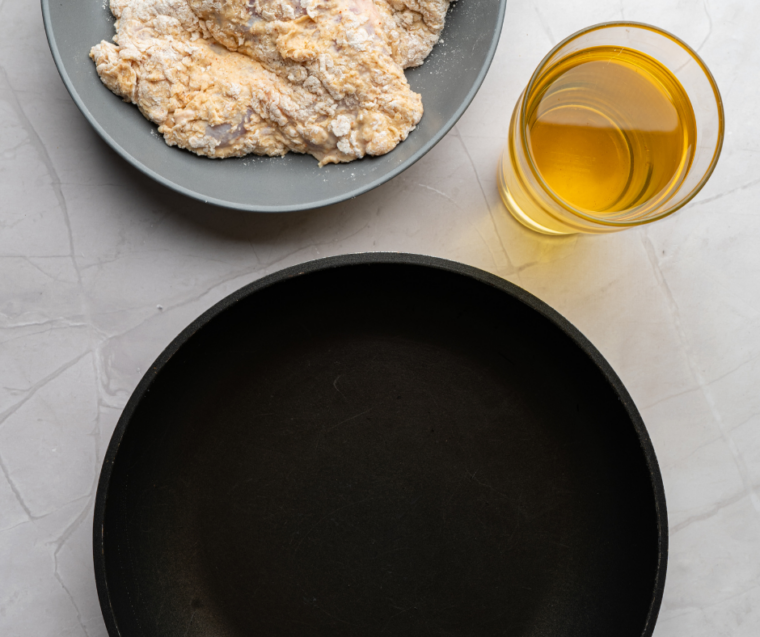
Step 3: Set up your station. Whisk the dredge ingredients in a wide shallow dish. Set a wire rack over a sheet pan. Pour 2 inches of oil into a Dutch oven and heat to 350°F. Heat the oven to 200°F with a second rack-lined sheet pan inside.
Step 5: Dredge, twice. Lift a piece of chicken from the marinade, let the excess drip off, and press it firmly into the flour on both sides. Dip it back into the marinade, then back into the flour, pressing hard so the coating grips. Set it on the wire rack. Repeat with the rest, then let them sit 10 minutes — the coating hydrates and stops sliding off in the oil.
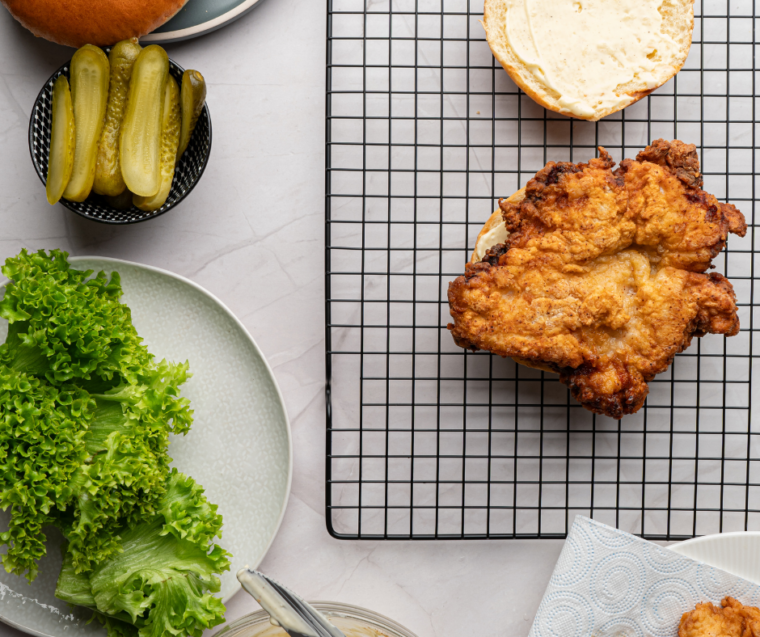
Step 5: Fry. Working in batches of two, lower the chicken into the oil. Fry 3 to 4 minutes per side, until deep golden and 160°F at the center. Do not crowd the pot — every piece drops the oil temperature, and you want it back above 325°F before the next batch. Transfer to the rack in the warm oven and hold up to 15 minutes.
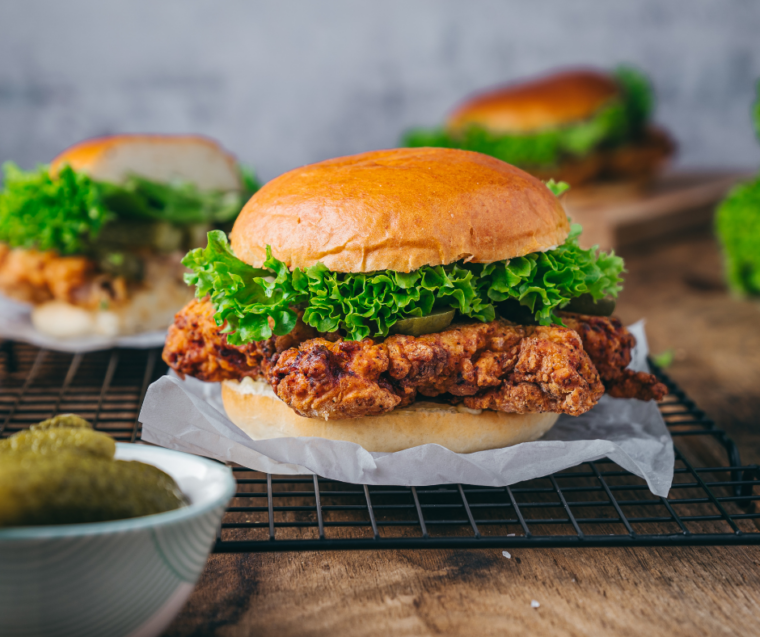
Step 6: Assemble. Butter the cut sides of the buns and toast them in a dry skillet until golden — this is a moisture barrier, not a garnish. Spread herb mayo on both halves. Bottom bun, pickles, chicken, lettuce, top bun. Serve immediately.
Notes
- Thighs work. Boneless skinless thighs are more forgiving of overcooking but won’t give you the flat cutlet shape. Cut the marinade to 6 hours.
- No air fryer. The double-dipped crust needs hot oil to set. Circulating air leaves dry, powdery patches. Shallow-fry in 1/2 inch of oil if you want a lighter version.
- Make-ahead: marinade and mayo, yes. Fried chicken, no. Fry it right before you eat it.
- Oil temp is the whole game. Buy a clip-on thermometer if you don’t have one.
Frequently Asked Questions
How spicy is this? Medium — noticeably hotter than Ina’s original, since the cayenne sits on the crust. Halve it for mild, or double it and add a tablespoon of hot sauce to the mayo for genuinely hot.
Can I marinate longer than 24 hours? No. Past a day the acid degrades the surface texture and the chicken turns mealy. If your schedule slips, freeze the chicken in the marinade instead.
Why did my crust fall off? Three usual culprits: you didn’t press the flour in hard enough, you skipped the 10-minute rest after dredging, or you moved the chicken too soon in the oil. Let it set for 90 seconds before touching it.
What do I serve with these? Something cold and acidic — vinegar slaw, cucumber salad, quick-pickled onions. Resist the urge to add fries.
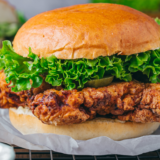
Copycat Ina Garten Fried Chicken Sandwiches
Description
Ingredients
Buttermilk marinade
- 2 cups buttermilk
- 1 large shallot, thinly sliced
- 4 cloves garlic, smashed
- 1 jalapeño, sliced (seeds in)
- 1 tablespoon kosher salt
- 2 teaspoons freshly ground black pepper
- 1 tablespoon hot sauce
- 3 boneless, skinless chicken breasts, (about 2 lb)
Buttermilk herb mayo
- 1 cup mayonnaise
- 1/4 cup buttermilk
- 2 tablespoons chives, finely chopped
- 2 tablespoons parsley, finely chopped
- 1 teaspoon thyme
- 1 tablespoon lemon juice
- 2 teaspoons white wine vinegar
- 1 clove garlic, grated
- Kosher salt and black pepper to taste
Seasoned dredge
- 2 cups all-purpose flour
- 1/4 cup cornstarch
- 1 tablespoon kosher salt
- 2 teaspoons smoked paprika
- 2 teaspoons garlic powder
- 1 teaspoon onion powder
- 1 teaspoon cayenne pepper
- 1 teaspoon baking powder
- 1 teaspoon black pepper
Frying and assembly
- 6 cups peanut oil, or canola oil
- 6 potato buns
- 3 tablespoons butter, softened
- 1 head Boston lettuce, or butter lettuce
- 1 cup dill pickle chips
Instructions
- Marinate — the night before. Whisk the buttermilk, shallot, garlic, jalapeño, salt, pepper, and hot sauce in a large bowl. Pound each chicken breast between parchment to an even 1/2-inch thickness, then cut crosswise into two roughly equal pieces — six total. Submerge, cover, and refrigerate 8 to 24 hours. Don’t exceed 24 or the texture turns mealy.
- Make the herb mayo. Whisk everything together, season, and refrigerate at least an hour. Better overnight, and it keeps about five days.
- Set up your station. Whisk the dredge ingredients in a wide shallow dish. Set a wire rack over a sheet pan. Pour 2 inches of oil into a Dutch oven and heat to 350°F. Heat the oven to 200°F with a second rack-lined sheet pan inside.
- Dredge, twice. Lift a piece from the marinade and let the excess drip off. Press firmly into the flour on both sides, dip back into the marinade, then back into the flour, pressing hard so the coating grips. Rest the coated pieces 10 minutes so the coating hydrates and won’t slide off in the oil.
- Fry in batches. Working two at a time, lower the chicken into the oil. Fry 3 to 4 minutes per side until deep golden and 160°F at the center. Don’t crowd the pot — let the oil return above 325°F between batches. Hold on the rack in the warm oven up to 15 minutes.
- Toast and assemble. Butter the cut sides of the buns and toast in a dry skillet until golden — a moisture barrier, not a garnish. Spread herb mayo on both halves. Bottom bun, pickles, chicken, lettuce, top bun. Serve immediately.
Equipment
- Dutch oven or other heavy, deep pot
- Clip-on deep-fry thermometer
- Instant-read thermometer
- Meat mallet or rolling pin
- Parchment Paper
- Two wire racks
- Two rimmed sheet pans
- Wide shallow dish for dredging
- Skillet for toasting the buns
Notes
Nutrition
Share this recipe
We can’t wait to see what you’ve made! Mention @forktospoon or tag #forktospoon!


Bev
27th Jan 2024 made this for the first time using a air fryer it was very tasty I forgot to read your tips for best results so a little bit of the batter come off and I used vegetable oil instead of olive oil but for my first attempt it come out pretty good I’ll definitely try this recipe again thanks for sharing it.
Mike
Just made this. My wife has to eat gluten free so substituted with gluten free flour but left everything else the same. She Loved it. She hasn’t had any good gluten free fried chicken anywhere so is thrilled we can now make her favourite at home. Thanks for the recipe.
Debra Trevino
I made this chicken for dinner. It was excellent. So much flavor. It’s a keeper recipe.