So you’ve unboxed your air fryer, and now you’re staring at it wondering where to begin. Good news: this is one of the most forgiving appliances in your kitchen. Once you understand how it works and learn a few simple habits, you’ll be turning out crispy, golden food with a fraction of the oil you’d use in a deep fryer.
This guide walks you through what an air fryer actually is, the parts you’ll be working with, and the handful of rules that make the difference between soggy disappointment and crispy perfection.
What an Air Fryer Really Is
Here’s the secret nobody tells you: an air fryer doesn’t fry anything. It’s a small, powerful convection oven. A heating element generates intense heat, and a high-speed fan whips that hot air around your food from every direction. Because the cooking chamber is compact and the airflow is aggressive, moisture on the surface of your food evaporates quickly, creating that crispy, browned exterior we associate with frying — with little to no oil. (Curious how it stacks up against the big appliance in your kitchen? See Air Fryer vs. Convection Oven.)
Understanding this changes how you think about cooking with it. You’re not “frying,” you’re roasting at high speed. That’s why airflow matters so much, and why most of the rules below come back to one idea: let the air do its job.
The Two Main Styles
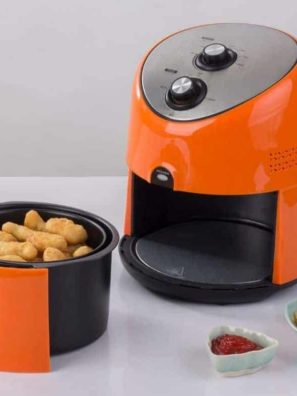
Air fryers come in two basic designs. Basket-style models are the classic pull-out-drawer type — compact, fast to preheat, and great for one to four people. Oven-style models look like small toaster ovens with racks and often include extras like rotisserie spits or dehydrator trays; they hold more food but can take a little longer. If you’re still deciding which is right for you (or shopping for your second one), the guide on how to choose an air fryer: basket vs. oven breaks down the trade-offs, and this roundup of the best air fryers covers specific models.
This guide focuses on the basket style since it’s what most people start with, but nearly everything here applies to both.
A Tour of Your Machine
Every basket air fryer, regardless of brand, is built around the same core components. Take two minutes to identify each one on your own model.
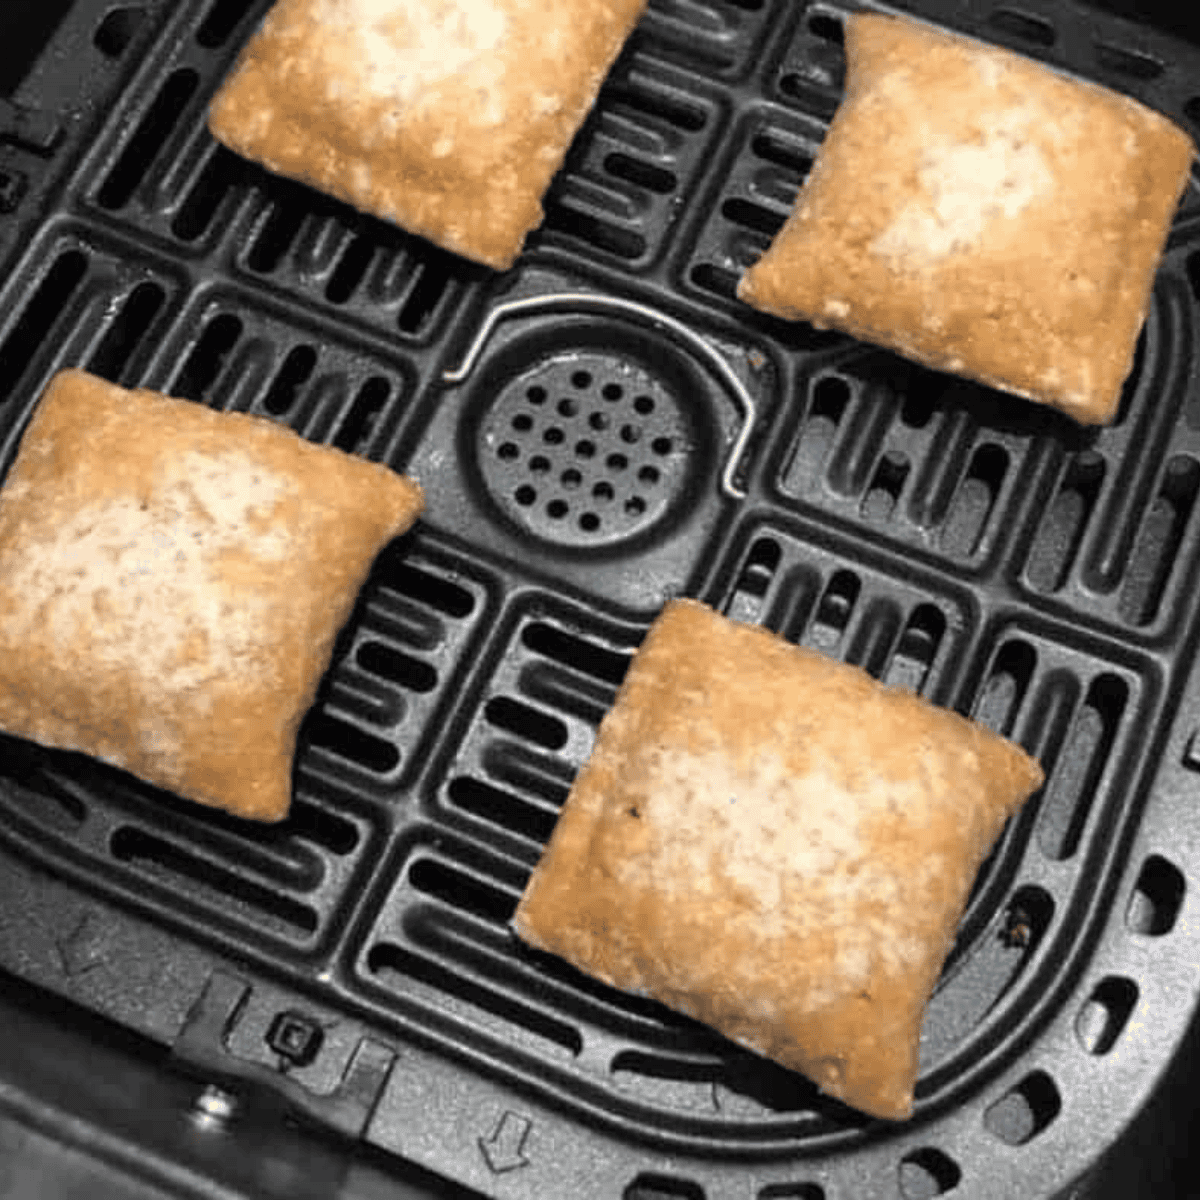
The basket is the perforated container where your food sits. Those holes aren’t decoration — they let hot air circulate underneath your food and let fat drip away. Some baskets have a removable crisper plate or grate at the bottom.
The drawer (or pan) is what the basket sits inside. It catches drippings, crumbs, and rendered fat. On most models, a button or lever on the handle releases the basket from the drawer — find it now, because you’ll use it constantly. Important habit: when a recipe says “shake the basket,” lift the basket out of the drawer and shake just the basket. Shaking the whole assembly sloshes hot grease around, which is messy at best and a burn hazard at worst.
The heating element usually sits at the top of the unit, directly above your food. This is why flipping food halfway through cooking is such common advice — it gives both sides direct exposure to the heat source and produces even browning.
The fan lives behind or above the heating element and drives the whole show, pushing hot air around the chamber at high speed.
The air intake and exhaust vents are on the outside of the machine — typically an intake on top or in back, and exhaust vents on the rear or sides. The machine pulls in fresh air to keep itself from overheating and pushes hot, steamy air out the exhaust. Find both vents on your model before your first cook, because blocking them is the most common beginner safety mistake (more on that below).
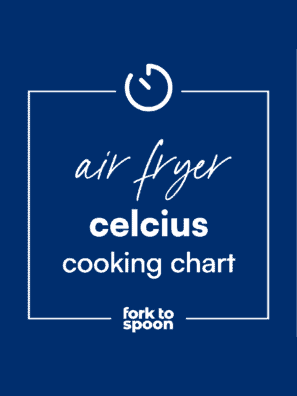
The controls set your temperature and time. Some models use digital touchpads with presets, others use simple dials. Either way, you only really need two numbers for any recipe: temperature (most machines range from roughly 175°F to 400°F) and time. Presets are just shortcuts — don’t feel obligated to use them. Not sure what numbers to use for a given food? Keep the updated air fryer cooking chart handy — it covers times and temps for the most common foods. Cooking in Celsius? There’s a printable Celsius cooking times cheat sheet too.
Before Your First Cook
A few one-time setup steps are worth doing. Remove all packaging, including anything tucked inside the basket. Wash the basket and drawer with warm soapy water. Then run the empty machine at 400°F for about 5 minutes — new units often give off a faint plasticky smell on first heat, and this burns it off before food is involved. Finally, position the unit on a heat-safe counter with at least 4–5 inches of clearance on all sides, away from walls, backsplashes, and cabinets.
The Golden Rules
If you remember nothing else from this guide, remember these four things.
1. Don’t crowd the basket. This is the number-one rookie mistake. Air frying works because hot air touches every surface of the food. Pile food in a mound and the air can’t circulate — you’ll steam your food instead of crisping it. Arrange food in a single layer with a little space around each piece. Cooking for a crowd? Work in batches. It’s genuinely faster than one overcrowded batch that never crisps.
2. Use a little oil, strategically. A light spray or toss of oil helps food brown, crisp, and release from the basket. Breaded foods especially benefit — a quick spritz on the coating keeps it from looking dry and dusty. A tip that saves your basket: aerosol sprays with propellants (like some nonstick sprays) can degrade nonstick coatings over time. An oil mister filled with your own oil, or simply tossing food with a teaspoon of oil in a bowl, works better.
3. Flip or shake halfway through. Since the heat comes from above, turning food over (or shaking small items like fries) partway through the cook time is how you get even color and crunch on all sides.
4. Check early, not late. Air fryers cook fast — often 20–30% faster than a conventional oven — and models vary. Until you know your machine, open it up and peek a few minutes before the recipe says it’s done. Opening the drawer mid-cook is completely fine; it doesn’t ruin anything the way opening an oven door can deflate a soufflé.
Frozen Foods: Your New Best Friend
If there’s one category where the air fryer truly shines, it’s frozen foods — fries, nuggets, taquitos, mozzarella sticks, you name it. No thawing, no preheating the big oven, and everything comes out crispier than the bag’s oven directions ever deliver. Bookmark the frozen foods air fryer chart for quick times and temps on dozens of freezer staples.
Converting Oven Recipes
You don’t need special air fryer recipes. To adapt a regular oven recipe, drop the temperature by about 25°F and reduce the cook time by roughly 20%, then check for doneness early. A recipe that calls for 400°F for 25 minutes in the oven becomes about 375°F for 20 minutes in the air fryer.
Safety Basics
Air fryers are safe appliances, but a few points deserve respect. Keep those intake and exhaust vents clear — a blocked intake can overheat the machine, and hot exhaust aimed at a wall or backsplash can damage the surface over time. Pull the unit away from the wall while cooking. Never fill the drawer with oil; this isn’t a deep fryer. Skip loose parchment or foil under food unless it’s weighted down — the fan can blow a loose sheet up into the heating element. And use dry hands and oven mitts when handling the basket; everything comes out hot.
Keeping It Clean
Clean the basket and drawer after every use — built-up grease smokes on the next cook and can eventually affect flavor. Separate the basket from the drawer and wash each piece with warm soapy water and a soft sponge (skip steel wool, which scratches nonstick coatings). Many baskets are dishwasher-safe, but check your manual; hand washing extends the coating’s life. Wipe the interior of the unit occasionally with a damp cloth once it’s fully cool, and never submerge the main unit in water.
Great First Recipes to Build Confidence
Start with foods that are hard to mess up and show off what the machine does best:
- Frozen french fries — the classic first cook. Follow this simple air fryer frozen french fries method (crinkle-cut fans, there’s a crinkle fries version too), and don’t forget to shake the basket.
- Chicken wings — arguably the single best thing an air fryer makes. Try these crispy air fryer chicken wings, or level up with the baking powder trick for extra-crispy skin.
- Roasted vegetables — the air fryer makes vegetable skeptics into believers. Garlic roasted broccoli is done in about 10 minutes, and broccoli Parmesan adds a crispy, cheesy finish.
- Leftover pizza — the air fryer revives a slice in a way no microwave can. Here’s exactly how to reheat pizza in an air fryer — about 3–5 minutes at 350°F and the crust crisps right back up.
Once you’ve got a few wins under your belt, browse the full library of air fryer recipes — there are hundreds, from breakfast through dessert — and the Charts & Tips section for more reference guides like this one.
Quick Troubleshooting
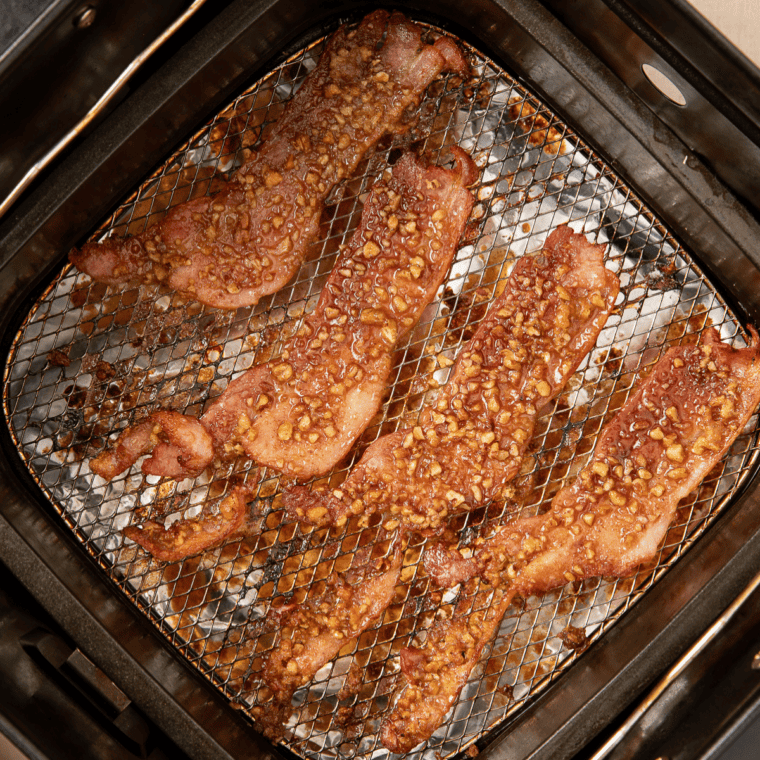
Food isn’t crispy? The basket was probably overcrowded, or the food needed a touch of oil. White smoke pouring out? That’s usually fat from a greasy food (like bacon or wings) hitting the hot drawer — a tablespoon of water or a slice of bread in the bottom of the drawer catches drips. Food stuck to the basket? Preheat first and give the basket a light oiling before delicate foods like fish.
Welcome to air frying! The learning curve is short and the payoff is fast. Master the single-layer rule, flip your food, and check early — everything else you’ll pick up naturally, one crispy batch at a time. And when you’re ready for meal inspiration beyond the basics, the weekly meal plan is a great place to start.