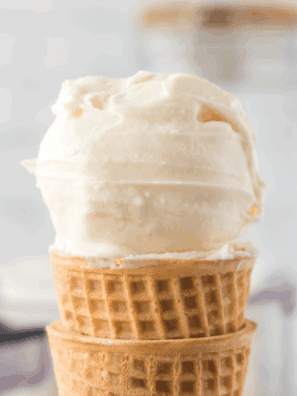
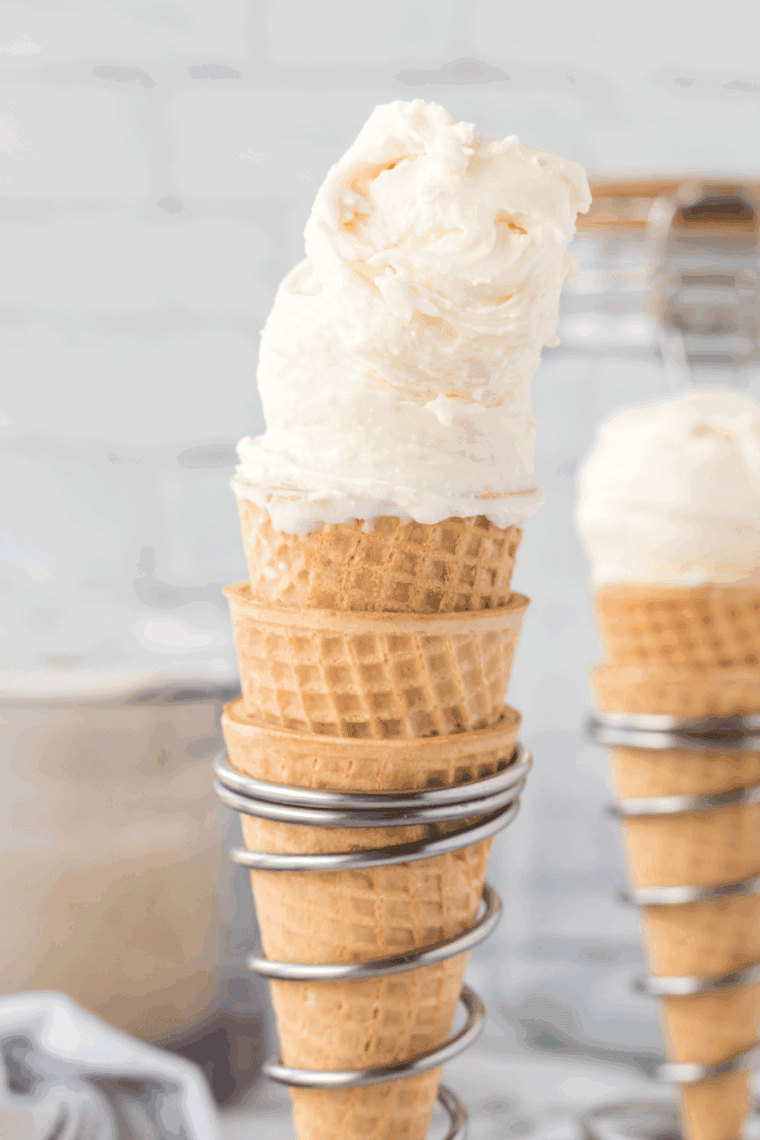
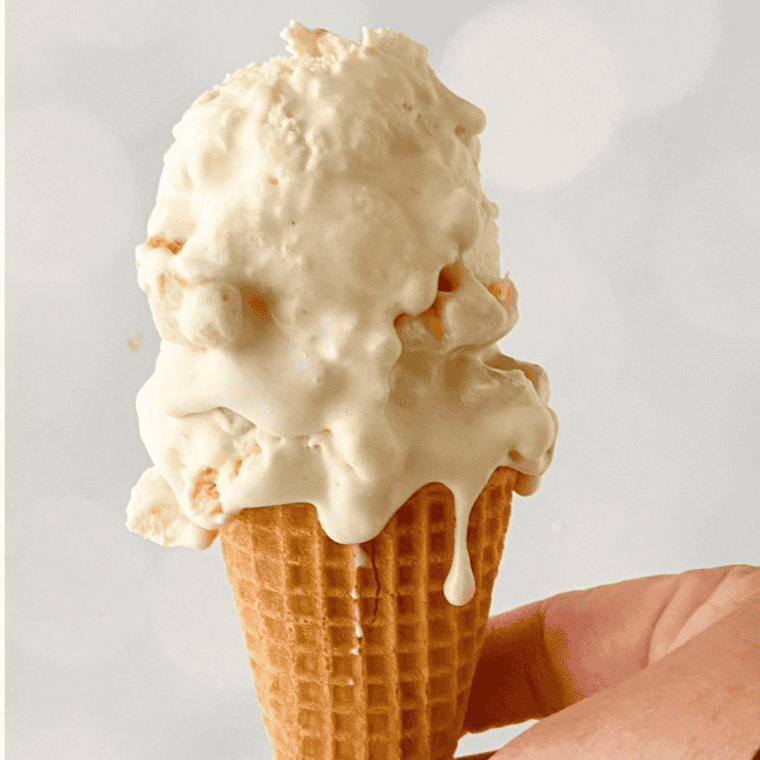
Smooth, scoopable, real-deal vanilla ice cream from just five ingredients — spun in minutes in your Ninja Creami, no ice-cream-maker bowl to pre-freeze and no eggs to temper.
If you want classic vanilla ice cream that actually tastes like vanilla — warm, floral, speckled with real bean flecks — this Ninja Creami vanilla bean ice cream is the recipe to memorize. It’s the one I make on repeat, partly because the base comes together in about five minutes and partly because it’s the perfect blank canvas: scoop it onto warm pie, sandwich it between cookies, or build a sundae bar with it.
The Ninja Creami does the hard part. You freeze a simple cream-and-milk base solid, then let the machine shave and re-whip it into a dense, professional-grade scoop. Below you’ll find the exact ingredients, step-by-step instructions, the cream-cheese trick that keeps it from turning icy, and fixes for the most common Creami problems.
Why you’ll love this recipe
- Just 5 ingredients — all of them probably already in your fridge.
- No eggs, no custard, no churning by hand — the Creami does the work.
- Genuinely creamy, not icy — a spoonful of cream cheese stabilizes the base.
- Endlessly customizable — it’s the master vanilla base for every mix-in you can dream up.
- Make-ahead friendly — freeze the base whenever, spin it the moment you crave it.
What is the Ninja Creami?
The Ninja Creami is a countertop ice cream maker that works differently from a traditional churner. Instead of slowly freezing a base while paddling air into it, you freeze your base completely solid in a pint container for 24 hours, then the Creami’s blade (“Creamerizer”) spins down through the frozen block at high speed, shaving it into an ultra-fine, smooth texture. The result is dense and gelato-like rather than fluffy — and because you control every ingredient, it beats most store-bought pints on flavor.
Ingredients you’ll need
Here’s what goes into a single pint of vanilla bean ice cream, plus why each one earns its spot. Exact measurements are in the printable recipe card below.
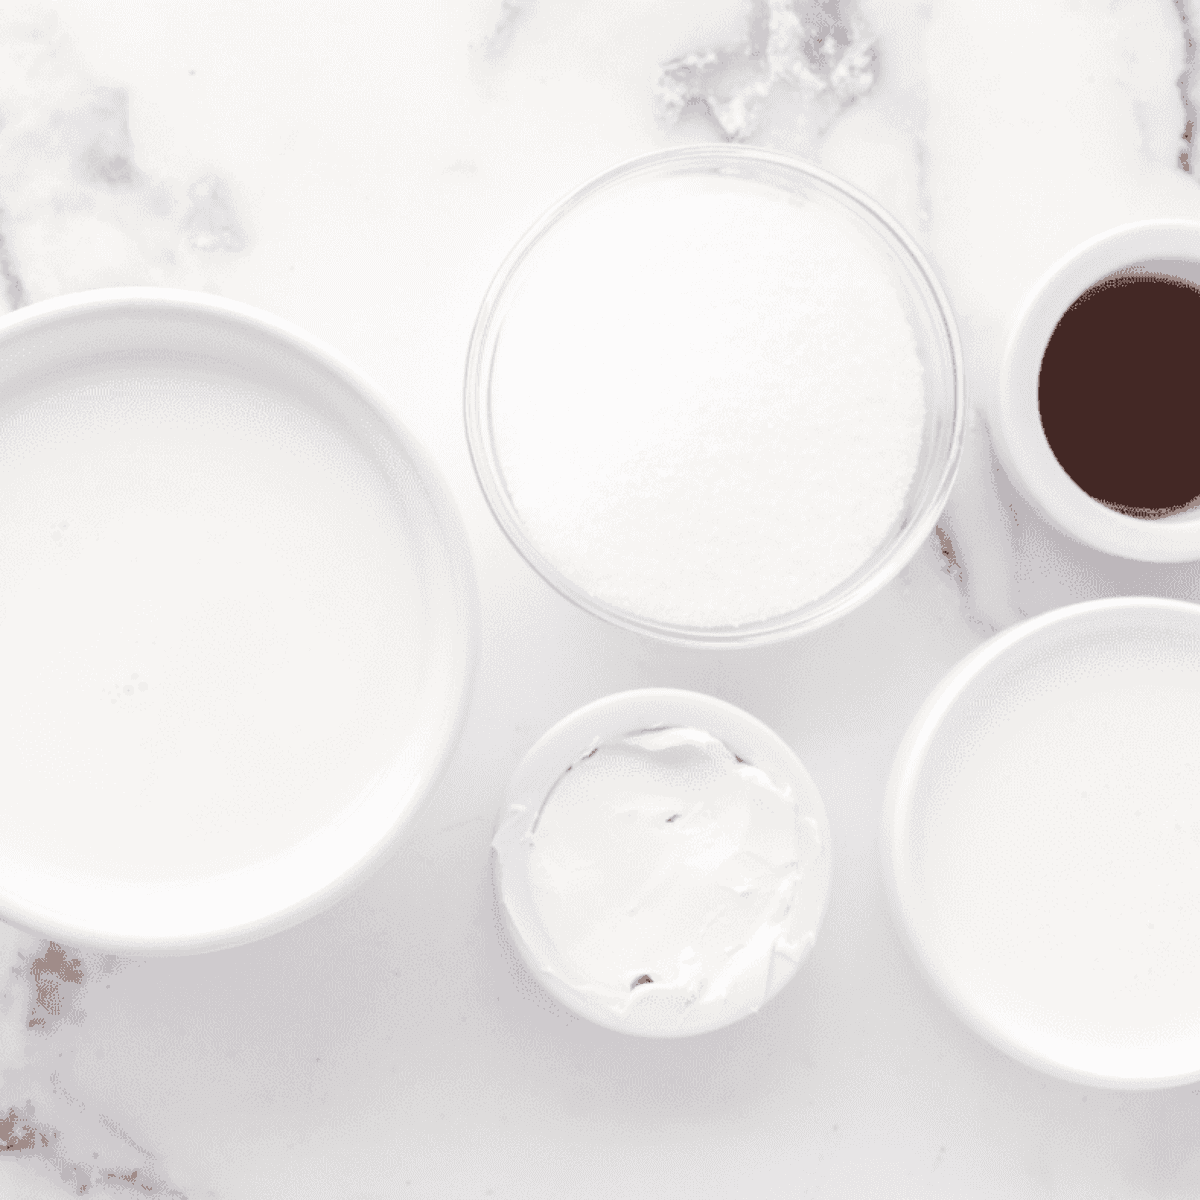
- Cream cheese — the secret to a smooth scoop. It adds fat and emulsifiers that trap water and stop large ice crystals from forming. Use full-fat for the richest result; let it come to room temperature first.
- Granulated sugar — sweetens and lowers the freezing point, which keeps the ice cream scoopable straight from the freezer. Adjust slightly to taste.
- Vanilla bean paste — the star. Paste delivers that speckled, bakery-style vanilla flavor with visible seeds. Pure vanilla extract works beautifully too if that’s what you have; use the same amount.
- Heavy whipping cream — the backbone of a rich, creamy mouthfeel. Want it even denser? Add a splash more.
- Whole milk — balances the cream so the base is luscious without being heavy.
Equipment
- Ninja Creami ice cream maker (any model with an Ice Cream program)
- Creami pint container with lid
- A mixing bowl and whisk
How to make Ninja Creami vanilla bean ice cream
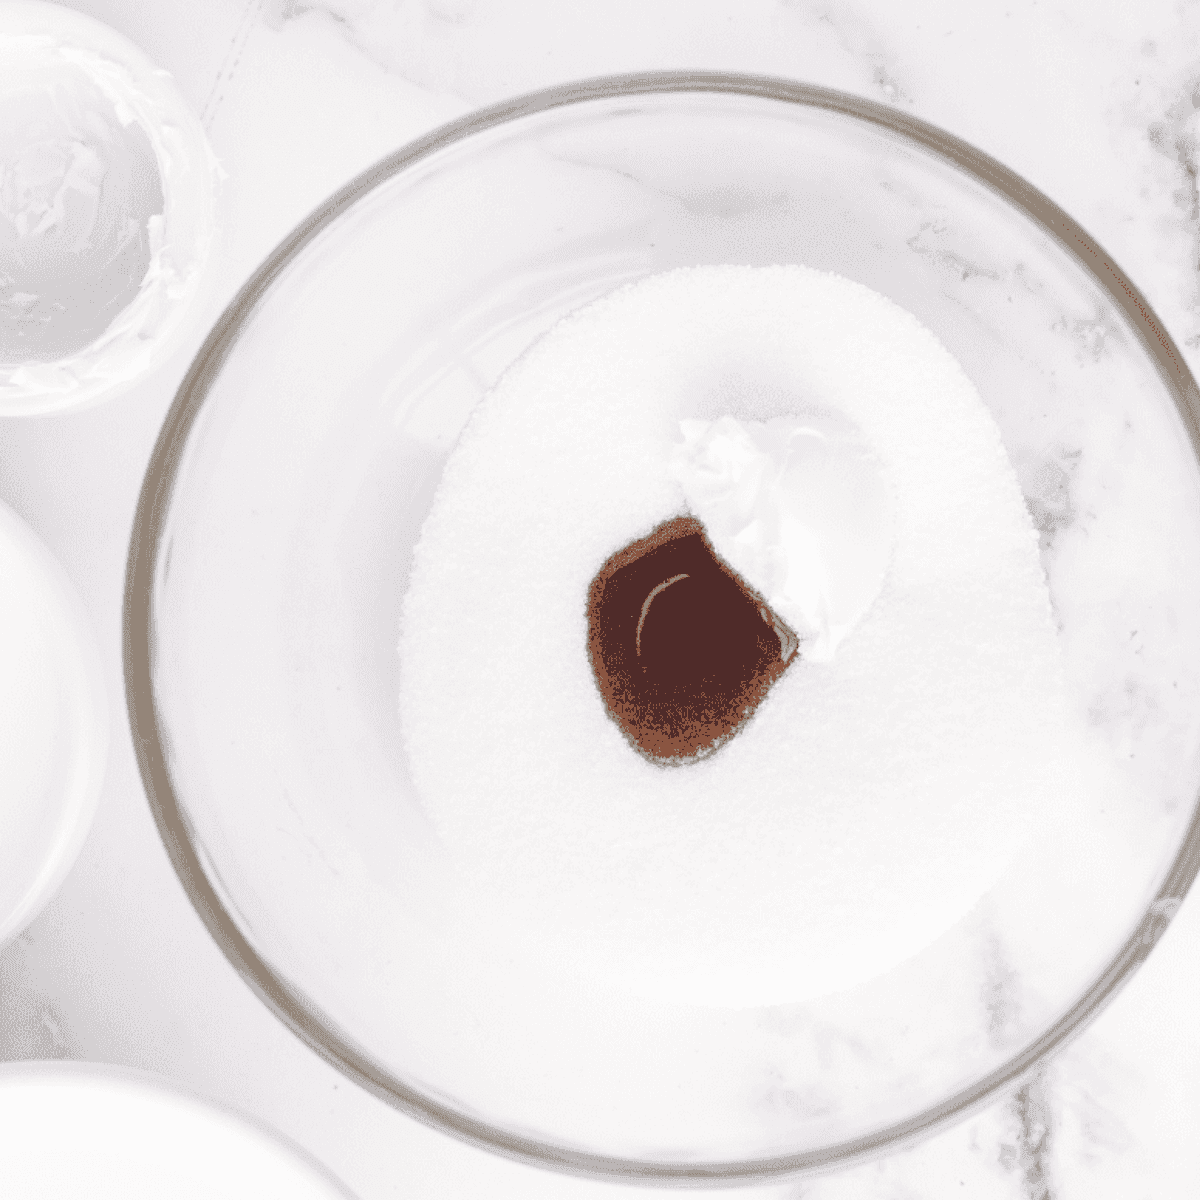
Step 1: Mix the base
In a bowl, whisk the softened cream cheese, sugar, and vanilla bean paste together until completely smooth and the sugar has started to dissolve. Getting this smooth now prevents lumps later.
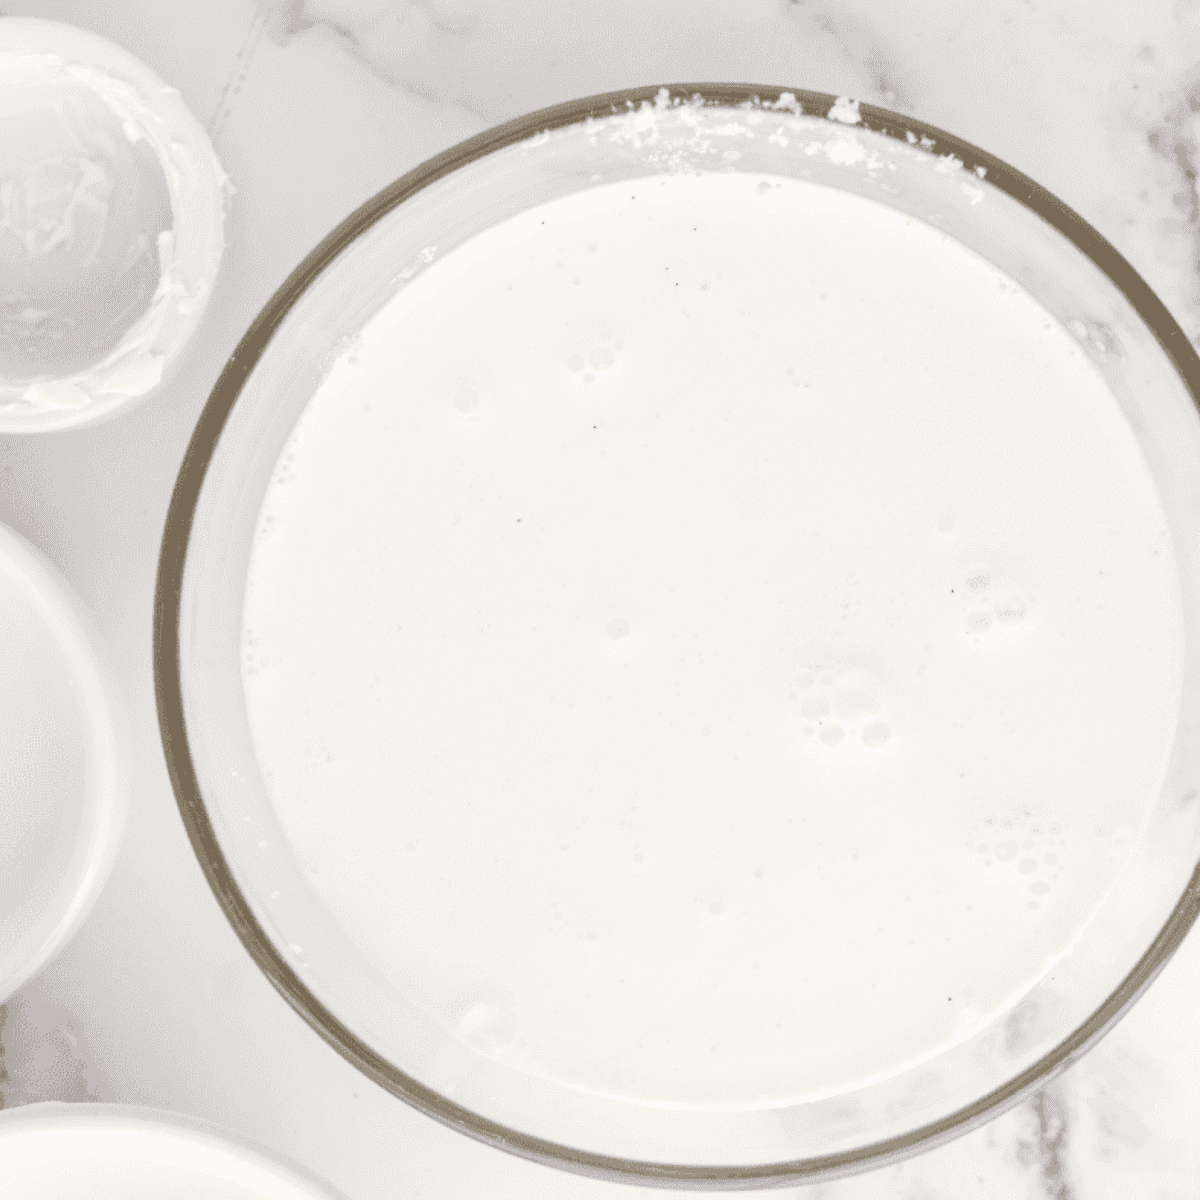
Step 2: Add the dairy
Pour in the heavy cream and whole milk and whisk until fully combined and silky.
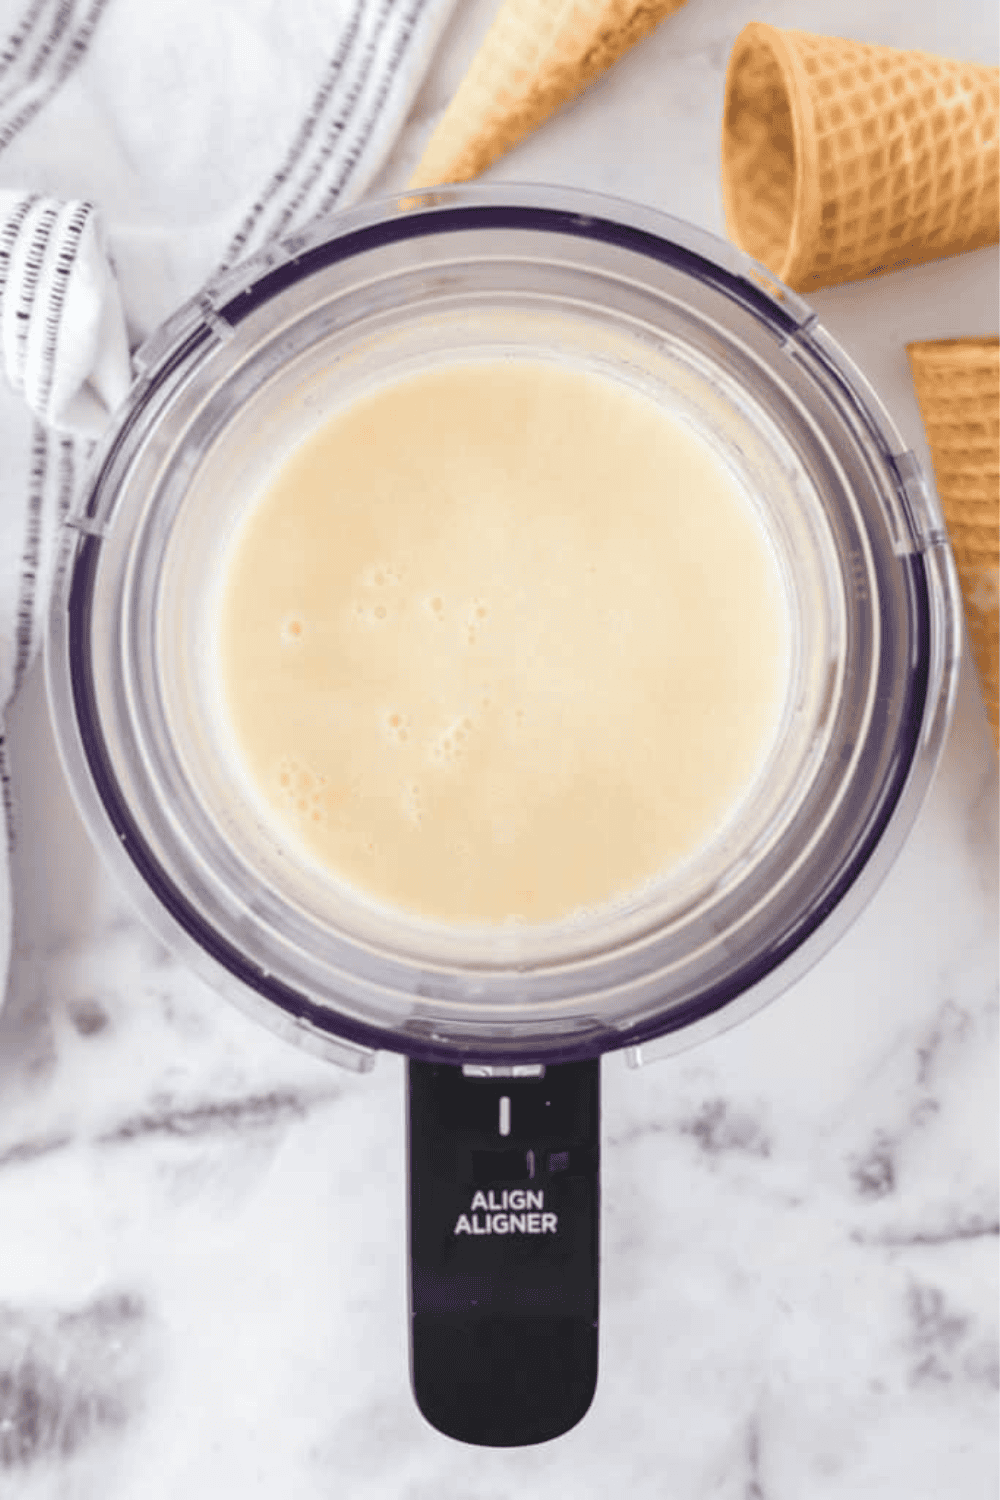
Step 3: Freeze for 24 hours
Pour the base into your Creami pint container, staying below the max-fill line. Snap on the lid and freeze on a level shelf for at least 24 hours, until frozen rock-solid and flat on top.
Step 4: Spin it
Remove the lid, lock the pint into the Creami outer bowl, and run the Ice Cream program. When it finishes, check the texture.
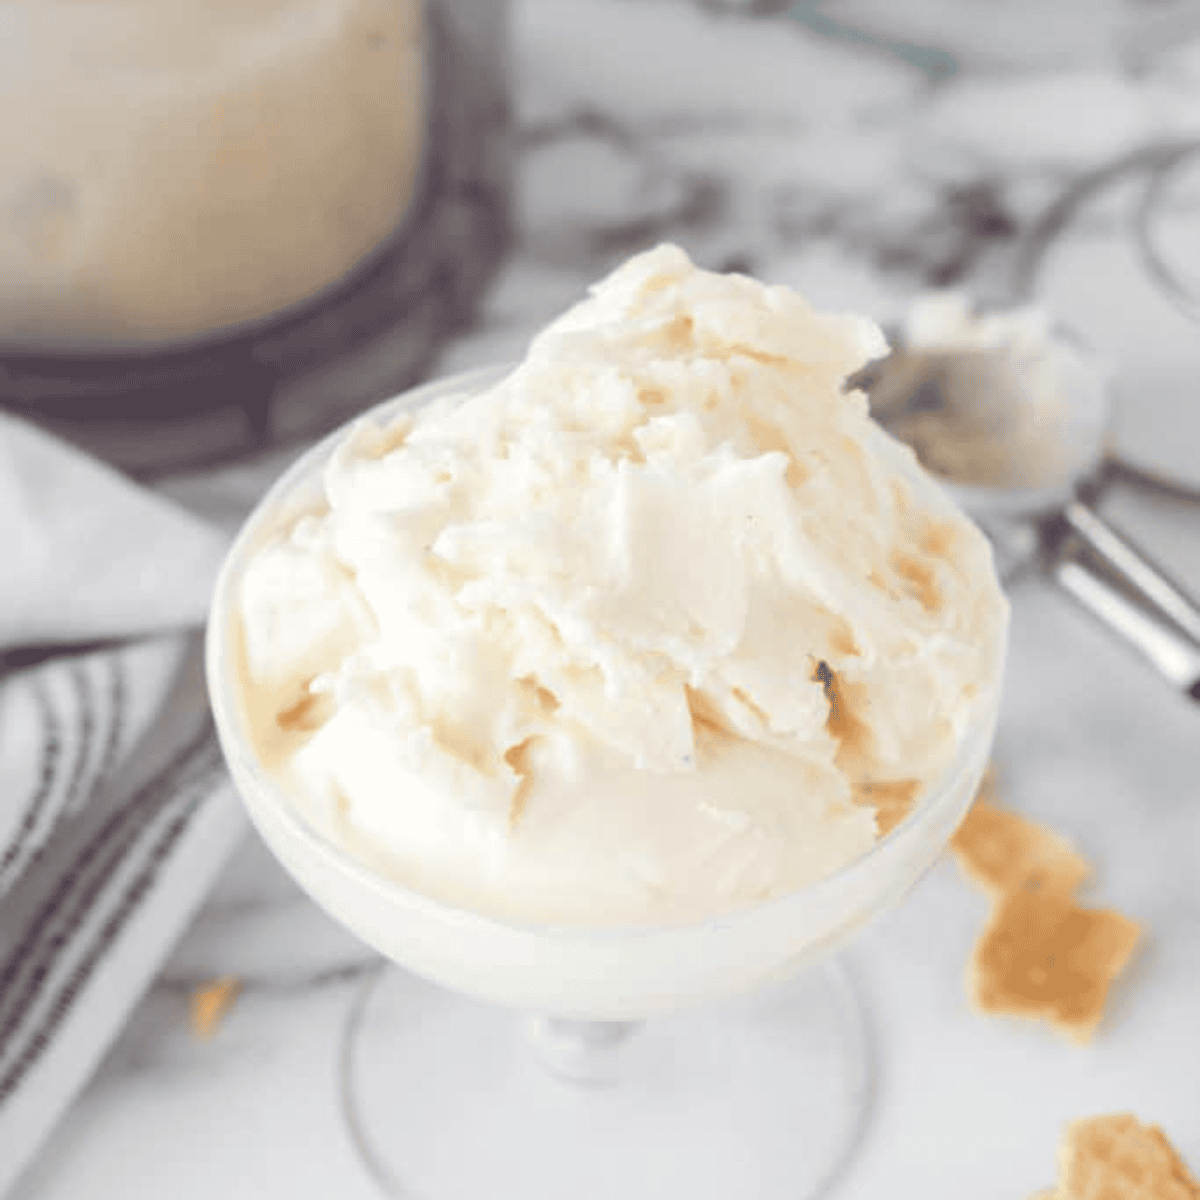
Step 5: Re-spin if needed, then serve
If it looks crumbly or powdery (totally normal on the first pass), run the Re-spin program. Scoop, add your favorite toppings, and serve right away for the creamiest texture.
Why add cream cheese to Ninja Creami ice cream?
This is the question I get most, and it’s the single biggest upgrade you can make. Because the Creami shaves a frozen block rather than churning in air, water content is your enemy — it’s what makes homemade ice cream turn rock-hard and icy. Cream cheese brings extra fat and natural stabilizers that bind that water, so every scoop stays soft, smooth, and creamy instead of crystalline. One tablespoon is all it takes.
Tips for the creamiest results
- Add a splash of liquid before re-spinning (a tablespoon of milk) if it’s still dry after the first spin.
- Soften the cream cheese first. Leave it out for an hour or microwave it for 8–10 seconds so it blends in lump-free.
- Freeze on a flat surface. A level, flat-topped block spins far more evenly than a tilted one.
- Don’t skip the full 24 hours. An under-frozen base spins into soup; a fully frozen one spins into silk.
- Always be ready to re-spin. Crumbly first results are expected — a re-spin fixes it almost every time.
Troubleshooting: crumbly or icy ice cream
If your Ninja Creami vanilla ice cream comes out powdery, crumbly, or icy, you’re not doing anything wrong — it’s the most common Creami hiccup and it’s an easy fix. A crumbly first spin usually just means the base was extra cold and needs a re-spin; run that program and it tightens into a creamy scoop. If it’s still dry, drizzle in a tablespoon of milk and re-spin once more. Iciness almost always traces back to too much water in the base or skipping the cream cheese — both of which this recipe is designed to prevent.
Easy variations
- Vanilla chocolate chip: after the first spin, poke a hole in the center, add chocolate chips, and run the Mix-In program.
- Cookies and cream: fold in crushed chocolate sandwich cookies with the Mix-In program — or follow our full Ninja Creami Cookies and Cream recipe.
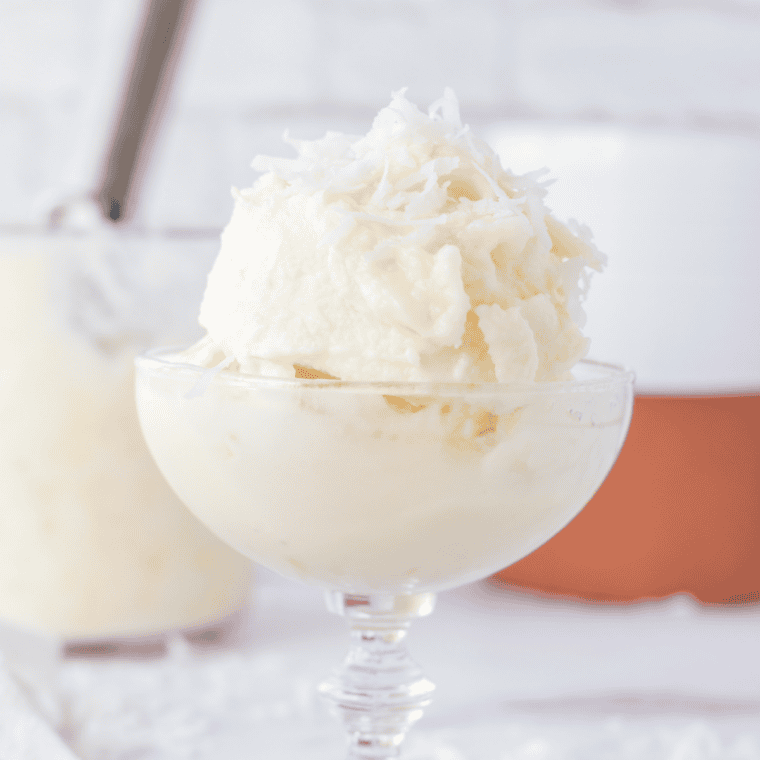
- Dairy-free vanilla: swap full-fat coconut cream for the heavy cream and oat milk for the whole milk.
- Extra-rich French vanilla: add an extra splash of heavy cream and a pinch more vanilla bean paste.
How to store homemade vanilla ice cream
- Keep it in the Creami pint. Smooth the top, seal with the lid, and return it to the freezer.
- Press out the air. A piece of plastic wrap directly on the surface helps prevent freezer burn.
- Re-spin before serving leftovers. After re-freezing, it’ll firm up — a quick re-spin brings back the creamy texture.
- Best within a week for flavor, though it keeps safely for up to a month.
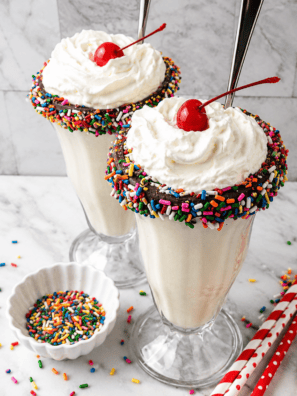
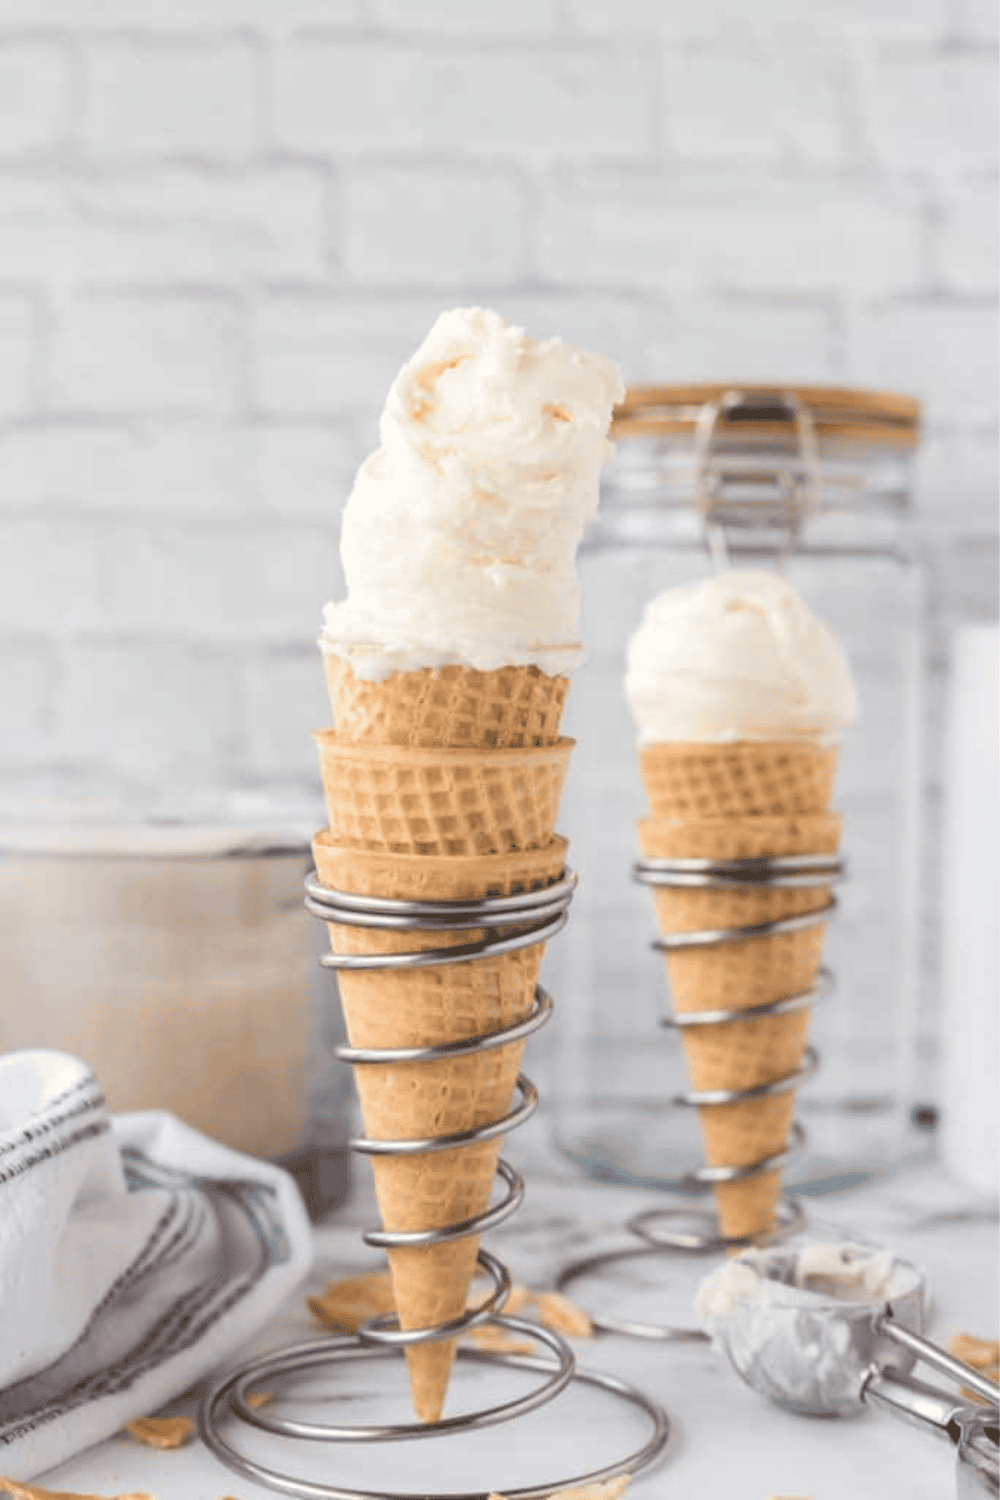
Serving suggestions
Vanilla bean is the great connector. Scoop it over warm apple or peach cobbler, sandwich it into homemade cookies, float it in root beer, or build a sundae bar with hot fudge, caramel, fresh berries, and toasted nuts. For an elegant plate, serve a single quenelle in a small bowl and let the vanilla flecks speak for themselves.
Frequently asked questions
Why is my Ninja Creami ice cream crumbly?
A crumbly or powdery first spin is normal — it usually just means the base was very cold. Run the Re-spin program and it turns smooth. If it’s still dry, add a tablespoon of milk and re-spin once more.
Do I really have to freeze the base for 24 hours?
Yes, for best results. The Creami is designed to shave a fully frozen block. If the base isn’t frozen solid, it can spin into a soupy texture instead of creamy ice cream.
Can I make this without cream cheese?
You can, but cream cheese is what keeps the texture smooth and scoopable rather than icy. If you leave it out, expect a firmer, more crystalline result. A tablespoon of instant pudding mix is the most common substitute stabilizer.
What’s the difference between vanilla bean paste and vanilla extract?
Vanilla bean paste contains the actual seeds, giving you visible specks and a deeper, more rounded vanilla flavor. Pure extract works perfectly and can be swapped one-for-one — you just won’t get the speckled look.
How many servings is one Ninja Creami pint?
One pint makes about two generous servings. Nutrition in the recipe card is calculated per serving based on two.
Why is my Ninja Creami vanilla ice cream icy or grainy?
Iciness almost always traces back to one of three things: not enough fat, not enough sugar, or a freezer running colder than about 0°F. This recipe balances cream cheese, whole milk, and heavy cream to prevent it — but if it happens, re-spin with a splash of heavy cream and check that your freezer isn’t set too cold.
Can I use low-fat or 2% milk?
You can, but expect a slightly icier, less creamy result — fat is what makes Creami ice cream smooth. Whole milk gives the best texture. If you do go lower-fat, don’t also cut back on the heavy cream.
Can I reduce the sugar or make it sugar-free?
Yes, but go carefully. Sugar doesn’t only sweeten — it lowers the freezing point and keeps the ice cream scoopable. Cut too much and it freezes rock-hard and icy. For a sugar-free version, allulose behaves most like sugar; too little freezes hard, too much and the base won’t set.
Why is my base too hard to spin?
A freezer colder than about 0°F can freeze the pint harder than the machine likes, which is also what causes a powdery first spin. Let the frozen pint sit on the counter for 5–10 minutes before spinning, then run the Ice Cream program and re-spin if needed.
How long does it keep in the freezer?
Store it in the Creami pint with the lid on, surface pressed flat, for up to about two weeks. It firms up as it sits, so re-spin — with a splash of milk if needed — before serving leftovers.
How do I add mix-ins like chocolate chips or cookies?
After the first spin, use a spoon to make a well down the center of the pint, add your mix-ins, and run the Mix-In program to fold them through evenly.
Can I make this dairy-free?
Yes — swap full-fat coconut cream for the heavy cream and oat milk for the whole milk. Full-fat is key, since low-fat plant milks spin icier. The flavor shifts slightly, but the texture holds up well.
Why does my ice cream taste greasy?
That’s usually too much butterfat coating your mouth. Next time, dial back the heavy cream a little and add more whole milk to rebalance the base.
More Ninja Creami recipes you’ll love: Ninja Creami Cookies and Cream · Easy Ninja Creami Butterfinger Ice Cream · Cold Stone Coffee Ice Cream (Ninja Creami Copycat) · 75 Delicious Ninja Creami Recipes
Loved this recipe? Follow along on Instagram, Facebook, and TikTok, and tag @forktospoon or use #forktospoon so we can see your creations. Join our Facebook group for all your Ninja Creami recipes and tips!
Ninja Creami Vanilla Bean Ice Cream
Description
Ingredients
- 1 tablespoon cream cheese, room temperature
- 1/2 cup granulated sugar, adjust to taste
- 1 teaspoon vanilla bean paste, or pure vanilla extract
- 3/4 cup heavy whipping cream, plus 2 extra teaspoons for a creamier result
- 1 cup whole milk
Instructions
- In a mixing bowl, whisk the room-temperature cream cheese, sugar, and vanilla bean paste together until smooth and the sugar begins to dissolve.
- Pour in the heavy whipping cream and whole milk. Whisk until fully combined and silky.
- Pour the base into a Ninja Creami pint container, staying below the max-fill line. Seal with the lid and freeze on a flat, level shelf for at least 24 hours, until frozen solid.
- Remove the lid, lock the pint into the Creami outer bowl, and run the Ice Cream program.
- If the texture looks crumbly, run the Re-spin program until smooth and creamy. Add a tablespoon of milk before re-spinning if it’s still dry.
- Scoop, add your favorite toppings, and serve immediately for the creamiest texture.
Equipment
- Ninja Creami Ice Cream Maker
- Pint Bowl Ninja Creami
- Ninja Creami Pint Container Lid
Notes
Nutrition
Share this recipe
We can’t wait to see what you’ve made! Mention @forktospoon or tag #forktospoon!